Control image brightness with one dial before pressing the shutter — EV basics, controls on Canon, Nikon, Sony and Fuji, +EV/-EV tables and the four mistakes almost everyone makes.
Author
Martin Kleinheinz
Photographer · Hannover
Updated
May 26, 2026
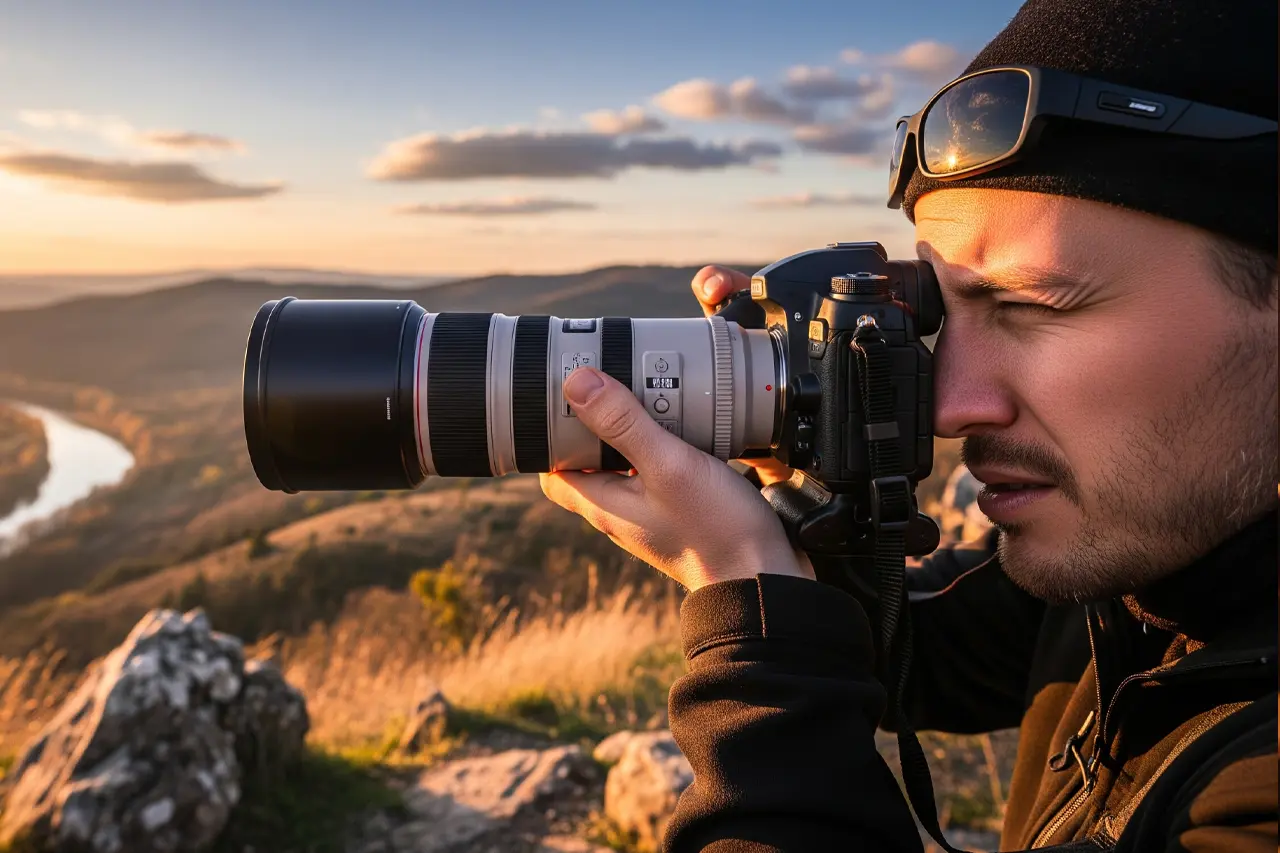
Sunset in front of you, camera ready — and the photo turns out too dark or blown out. Sound familiar? Exposure compensation is often the fastest fix: one dial, no post-processing, no juggling three parameters at once.
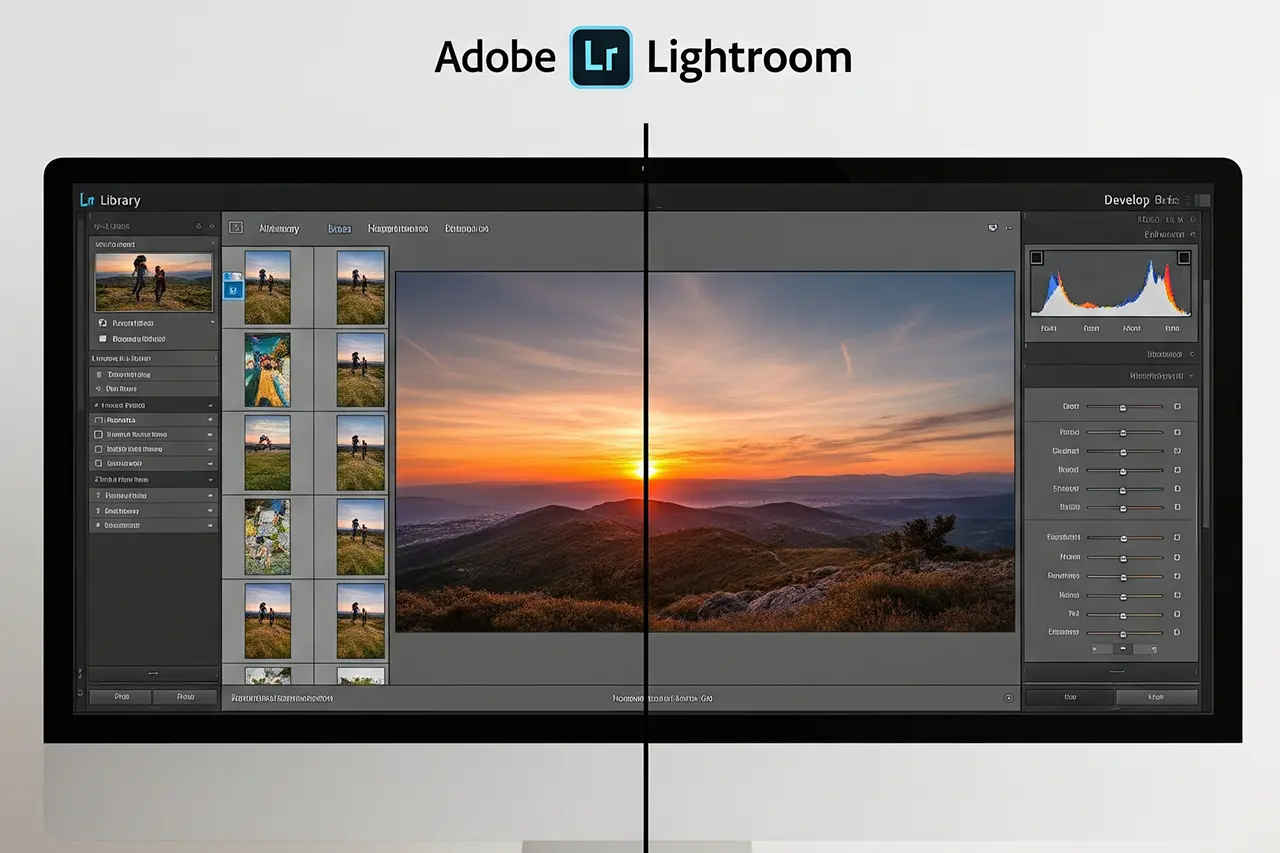
Your camera meters for "middle grey" — with snow, black clothing or backlight it is almost always off. Instead of rescuing the image later in Lightroom, you steer the brightness before pressing the shutter.
After 15 years and hundreds of workshops, this is the most common frustration: "My photos are always too bright or too dark!" — even though the fix takes two seconds on almost any mirrorless camera. Also useful: Take better photos and which image format (RAW vs. JPEG).
01
Basics
What Is Exposure Compensation?
Exposure compensation overrides the camera's automatic metering. Technically, you shift the exposure in EV (Exposure Value): +1 EV = twice as bright, -1 EV = half as bright. Most cameras work in 1/3-stop increments (+0.3 / +0.7 / +1.0 …).
Typical EV values
◆In practice ±1.3 EV is usually enough — more extreme values only for snow or silhouettes
◆+2 EV = four times as bright · -2 EV = one quarter as bright
◆Snowman in sunlight: camera turns white into grey → +1 to +1.7 EV
When the camera fails
Bright scenes
Snow, beach, white walls → turn grey without +EV
Dark scenes
Black car, evening → turn too bright without -EV
Backlight
Person in front of bright sky → subject too dark without +EV
◆ Lightroom PresetsBundle
Photos with film character
9 Lightroom presets inspired by Portra, Kodak, Fuji & Ilford — for street, portrait and landscape. One-time €29, no subscription.
Lightroom Presets9 film looks inspired by Portra, Kodak & Fuji —View pack →
05
Mistakes
4 Critical Mistakes
1. Forgetting to reset EV
Snow at +1.7 EV — afterwards everything in the forest is too bright. Rule: new location = check that EV is back to 0.
2. Values too extreme
±3 EV is rarely needed. The 90 % rule: ±1 EV is usually enough. More than ±1.5 EV? Rethink your light or framing.
3. Ignoring the histogram
The display fools you in sunlight. Turn on the highlight warning and keep the histogram right-leaning but never clipped.
4. M mode without Auto ISO
EV has no effect. Solution: enable Auto ISO, switch to A/Av or set ISO/shutter/aperture manually.
06
Pro
Techniques & Workflow
Exposure bracketing
Three frames at -1 / 0 / +1 EV — a safety net for extreme contrast or HDR. More headroom in image editing for beginners, but still aim to "capture it right".
Spot metering + EV
Spot meter the cheek for portraits, then +0.3 EV for natural skin tones — more precise than matrix metering in hard backlight.
Before / during / after the shoot
◆Before: EV at 0, histogram + highlight warning enabled (30-second check)
◆During: test shot → histogram → EV in 0.3-stop steps → second test
Common causes: full auto, M without Auto ISO, wrong button combination or the camera hitting its ISO/aperture limit. Quick test: +1 and -1 EV — different brightness?
Camera or Lightroom first?+
Always camera first — optimal dynamic range, less noise, blown-out highlights are often unrecoverable. This is true for RAW too.
How do I know the right amount of compensation?+
Histogram: right-leaning without clipping on the right. Highlight warning only on small spots is fine. On the computer: shadows without muddy noise, highlights still showing detail.
Images still wrong despite EV — what now?+
Check display brightness, change metering mode (matrix vs. spot), or accept that the scene is too contrasty → bracketing or a different position.
08
Start
Your 7-Day Plan
Day 1–2
Practice EV controls on your camera until it's automatic.
Day 3–4
Bright scenes with +EV, dark ones with -EV — always a reference frame without compensation.
Day 5–6
Use histogram and highlight warning on every subject.
Day 7
Analyze your results — which EV values were on point?
Creative ideas for practice scenes: photoshoot ideas. Exposure compensation isn't cheating — it's professional efficiency in the right place.
From my workflow
35mm & 120mm film presets
Portra, Kodak Gold, Velvia, HP5 & more — ready-made XMP presets for Lightroom Classic and mobile.
Transparency notice: This article contains affiliate links. If you buy through them I earn a small commission at no extra cost to you. Editorial content is unaffected.
◆ Newsletter
Stay in the loop.
Camera and photography news, honest gear tests and new articles — in your inbox. Infrequent but relevant. No spam, unsubscribe anytime.