RAW, JPEG, HEIF or WebP? Discover which image format is optimal for your photography – with a comparison, pros and cons and concrete workflow tips from practice.
Author
Martin Kleinheinz
Photographer · Hannover
Updated
May 25, 2026
You're standing in front of your camera and asking yourself: which image format should I choose? JPEG for quick use, or RAW for maximum quality? Maybe you've also heard of HEIF or WebP and wonder whether these newer formats are an alternative.
As a photographer who has been working daily with various image formats for over 15 years and has shot more than 50,000 images for clients in business, events and real estate, I can tell you: choosing the right format significantly determines the quality of your images and the efficiency of your workflow. In consultations with photographers I keep seeing the same uncertainties around format choice. There is no single "best" format – only the right format for your specific use case.
In this guide I'll show you every relevant image format, explain the pros and cons of each and give you concrete decision aids. You'll learn when to use which format and how to design your workflow optimally – whether you shoot APS-C or full frame.
01
Basics
The Most Important Image Formats for Photographers at a Glance
Before we go into detail, let's get a structured overview of the different image formats and their main properties. Each format was designed for specific use cases and has its clear place in the photography workflow.
RAW image format – the digital negatives
RAW files are the "digital negatives" of your camera and contain all unprocessed image information from the sensor – completely lossless and without in-camera processing. In my daily work with Canon R5, Sony A7R V and various Nikon bodies I shoot exclusively RAW because it gives me absolute control over the final result. Choosing the right camera hardware is just as important as the format – sensor size and bit depth determine how much headroom is in the file.
Manufacturer-specific formats: Canon (.CR3), Nikon (.NEF), Sony (.ARW), Fujifilm (.RAF), Panasonic (.RW2), Olympus (.ORF) – each manufacturer uses its own proprietary format.
Compressed image formats
These formats reduce file size through various compression algorithms and are ideal for the final output and sharing of images.
Main representatives: JPEG (standard since 1992), HEIF (Apple standard), WebP (Google's web format), AVIF (latest generation) – each with different strengths and areas of use.
Uncompressed image formats
TIFF and PNG store image data completely without quality loss but need correspondingly more storage space.
Main use: Intermediate step in professional editing, long-term archiving and high-quality print masters.
Format
Compression
File size
Quality
Compatibility
Editing
JPEG
Lossy
Small
Good
Universal
Limited
RAW
Lossless
Large
Maximum
Special software
Unlimited
HEIF
Lossy
Small
Very good
Limited
Limited
WebP
Both
Very small
Good
Web
Limited
TIFF
Lossless
Very large
Maximum
Good
Good
Complete comparison of the most important image formats for photographers
◆ Lightroom PresetsBundle
Photos with film character
9 Lightroom presets inspired by Portra, Kodak, Fuji & Ilford — for street, portrait and landscape. One-time €29, no subscription.
The decision between RAW and JPEG is the fundamental fork in the road for every photographer. Both formats have clear strengths – but for completely different use cases and workflows.
RAW – the maximum in flexibility
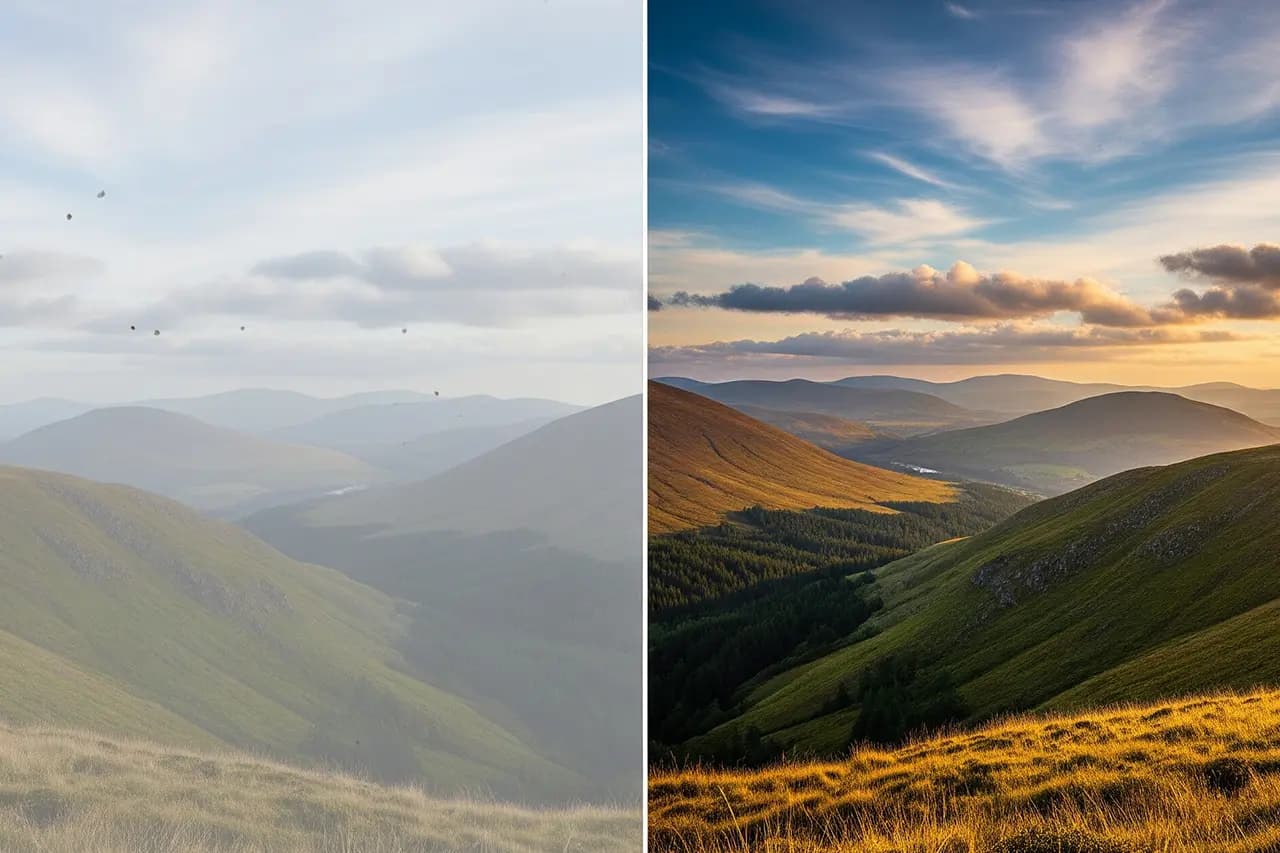
RAW files give you absolute control over your images. Since no in-camera processing takes place, you can adjust practically every parameter in post-processing: exposure, white balance, contrast, saturation and much more.
The decisive advantage from practice: The full dynamic range is preserved. That means significantly more detail in shadows and highlights. At a recent wedding in the Maulbronn monastery church I was able to bring out both the dark pews and the bright stained-glass windows perfectly – thanks to RAW. With JPEG that would have been impossible. For exposure compensation in post-processing there's also significantly more headroom. A calibrated monitor or a wide-gamut display for photo editing helps you judge those fine details optimally.
JPEG – efficiency and universal compatibility
JPEG files are significantly smaller, instantly usable and supported by every device and every piece of software. The camera handles all image processing – that saves time but limits flexibility.
Perfect for: social media, fast sharing, backup versions or when you have little time for post-processing. Honest take: For serious photography, JPEG alone is a compromise – you're giving away your camera's potential.
RAW+JPEG – the hybrid approach
Modern cameras offer simultaneous saving of both formats. You get instantly usable JPEGs plus RAW files for professional post-processing. Especially for beginners the right photo editing software is key.
Practical experience: Double the storage need and slower camera performance, but maximum flexibility in the workflow. On my business shoots I shoot RAW+JPEG by default: I send the JPEGs the same day as a preview while I use the RAW files for the final, professionally edited images. My clients really appreciate the fast first feedback. For professional jobs, a legally sound approach with model and property releases is also important.
03
New standards
Modern Image Formats – HEIF vs. JPEG vs. WebP
While JPEG has been the standard for compressed images for over 30 years, new formats are revolutionizing image compression with significantly better efficiency at equal or even higher quality.
HEIF – the iPhone standard vs. JPEG
High Efficiency Image Format (HEIF) was developed in 2015 and has been the standard on Apple devices since iOS 11. The format is based on the HEVC video codec (H.265) and offers about 50 % better compression than JPEG at identical image quality.
Technical advantages in detail: 16-bit color depth (vs. 8-bit for JPEG), multiple images per file (Live Photos), transparency support, HDR metadata and significantly smaller files. In my tests, HEIF achieved on average 40–60 % smaller file sizes than JPEG at identical visual quality. The advantage shows especially with detailed images and many color nuances.
WebP – Google's JPEG alternative for the web
WebP was developed by Google in 2010 and offers both lossless and lossy compression. The format uses a prediction algorithm and produces up to 35 % smaller files than comparable JPEGs.
Technical specs: Support for up to 24-bit RGB colors with an 8-bit alpha channel, GIF-like animations and both lossless and lossy compression in one file. For my online galleries I use WebP by default – load times drop by about 40 % on average, which significantly improves the user experience.
AVIF – the future of image compression
AV1 Image File Format (AVIF) is based on the royalty-free AV1 video codec and represents the current state of image compression technology. The format clearly outperforms both JPEG and WebP in compression efficiency.
Technical superiority: Up to 50 % smaller files than JPEG at identical quality, 10-bit and 12-bit color depth, full HDR support (Rec. 2020, HLG, PQ), transparency with an 8-bit alpha channel and progressive decoding. In my performance tests for web galleries, AVIF shows the best results, but browser support is not yet complete (Chrome/Edge: full, Firefox/Safari: partial). Honest recommendation: For professional websites AVIF is still too risky right now – only use it with a WebP/JPEG fallback. As of May 2026, source: CanIUse.com browser compatibility database.
04
Long-term
Archiving and Future-Proofing
When choosing the right image format, don't just think about today's use but also about the future. Which formats will still be readable in 10 or 20 years? This question is especially important for archiving.
The lifespan of file formats
JPEG has existed since 1992 and will continue to be universally supported for the foreseeable future. It has become the de facto standard for image files.
RAW problem: Proprietary formats depend on continued manufacturer support. Adobe's DNG format tries to offer a solution as an open standard.
TIFF as a professional archive format
For long-term archiving of edited images, TIFF is the first choice. The format has existed since 1986, is fully lossless and is supported by practically every software.
Trade-off: TIFF files are significantly larger, but in return future-proof and without any quality loss.
Storage space vs. quality
Falling storage costs make the decision between quality and file size less and less relevant. A 4 TB hard drive costs under €100 today (as of 2026). Honest cost math: With 50 GB of RAW files per shoot, storage costs only about €1.25 – negligible compared to the value of the images and the effort that goes into creating them.
Strategic thought from practice: Define a clear hierarchy – which images deserve the highest quality and which can be archived compressed. Personally I store everything in RAW because storage today is cheaper than the time for quality decisions.
Lightroom Presets9 film looks inspired by Portra, Kodak & Fuji —View pack →
05
Practice
Decision Help By Use Case
Now let's get concrete: in which situation should you use which format? Here are my recommendations based on years of practice across different areas of photography.
For beginners and hobby photographers
Start directly with RAW+JPEG (if your camera supports it) or at least RAW. The larger files are no longer an obstacle today.
Advantage: You keep all your options open for post-processing and learn the professional workflow from day one.
For professional photographers
As a professional photographer with over 15 years of experience and more than 200 weddings, 150 business events and numerous real-estate projects, RAW is non-negotiable. The flexibility in professional post-processing is essential for the image quality your clients expect and pay for.
Workflow tip: Additional JPEG versions for quick previews, but RAW remains the primary working format.
For event and wedding photography
RAW is absolutely indispensable here. At events you shoot under constantly changing lighting – from candlelight to harsh spotlights. In event photography practice it shows again and again why I have never once shot a corporate event without RAW in over 150 of them.
Practical example: At a CEO presentation in Stuttgart the light changed within minutes from warm halogen to cold LED spots. Thanks to RAW I was able to retroactively correct all 400 images to a consistent white balance – with JPEG the event shoot would have been ruined.
For social media and web publishing
Here small, optimized files are the focus. JPEG at high quality (90–95 %) offers the best balance between file size and image quality.
Web optimization: Additionally offer WebP versions for websites to reduce load times significantly.
For long-term archiving
Three-format strategy for maximum flexibility: RAW files for every important capture, TIFF for finalized edited versions.
Additionally: JPEG versions as a compact alternative for fast access and sharing.
06
Workflow
Workflow Recommendations by Photography Type
A well-considered workflow saves time and makes sure you use the optimal format for every use case. Here are proven workflows for various kinds of photography.
Workflow for portraits and studio
Capture
RAW (highest quality, full dynamic range)
Editing
Lightroom or Photoshop for professional retouching
Client delivery
JPEG (95 % quality) for digital, TIFF for high-quality prints
Archiving
RAW master + finalized TIFF version
Web gallery
JPEG (85 % quality) + WebP for optimized load times
Workflow for landscape photography
Capture
RAW (essential for HDR editing and maximum dynamic range)
Cloud storage for JPEG, local drives for RAW masters
07
Tech
Compression and Quality Settings
Choosing the right format is only the first step. Equally important are quality and compression settings. This is where it's decided whether your images look optimal or just produce unnecessarily large files.
Understanding JPEG quality levels
JPEG quality is given in percent or on a 1–12 scale. Important: Quality loss is not linear – the jump from 95 % to 85 % is barely visible, while 70 % to 60 % is clearly noticeable.
◆95–100 %: Maximum quality, large files → professional archiving
◆85–95 %: Very good quality, moderate size → client galleries
◆70–85 %: Good quality, small files → social media
◆50–70 %: Acceptable quality → web thumbnails
◆Below 50 %: Visible artifacts → only for special applications
Quality level
File size
Visible quality
Typical use
Recommendation
95–100 %
Very large
Maximum
Professional archiving
Only for the most important images
85–95 %
Medium
Very good
Client galleries
Sweet spot for most cases
70–85 %
Small
Good
Social media
Optimal for online sharing
50–70 %
Very small
Acceptable
Web thumbnails
Only for preview images
JPEG quality levels and their optimal use cases
RAW compression: lossless vs. lossy
Modern cameras offer various RAW compression options for optimized file sizes.
◆Lossless compressed: Reduces file size by ~30 % without any quality loss using mathematical algorithms like DEFLATE or LZ77. Canon uses this in CR3 files, Nikon in compressed NEF files.
◆Lossy compressed: Halves file size with minimal, mostly invisible losses through selective data reduction. Sony's ARW format performs especially well here – in my practice the quality difference is barely visible even at 100 % view, while the storage savings are substantial.
Finding the optimal balance
In practice it's always about the balance between quality, file size and compatibility. From 15 years of experience: JPEG at 90 % quality is perfect for most applications and produces files only half the size of 100 % quality. In my over 200 wedding shoots this setting has proven optimal – even on large prints up to 40×60 cm there are no visible quality losses. A calibrated monitor is indispensable for correctly judging the quality.
08
Conclusion
Concrete Action Items
After this comprehensive overview you might be asking: what should I actually do now? Here are my clear recommendations based on years of experience across various areas of photography.
The universal recommendation: RAW+JPEG
If your camera supports it and you have enough storage, RAW+JPEG is the optimal solution for most photographers. You get instantly usable JPEGs and keep every option open for professional post-processing.
For beginners: start directly with RAW
Even as a beginner you should get used to RAW right away. The larger files are no obstacle today, and you learn the professional workflow from the start. Modern RAW software makes the development accessible even for beginners.
As a professional photographer focused on business, event and real-estate work, RAW is essential. My clients – from Fortune-500 companies to local businesses – expect and pay for perfect image quality, and you only achieve it with the full dynamic range and flexibility of RAW. In my 15 years I've learned: professionalism shows in the consistency of quality, not in the speed of delivery.
Proven pro workflow: RAW master for perfect editing combined with efficient image delivery via professional gallery systems. I also teach this workflow in event photography practice.
Make sure you have enough storage (at least 2 TB) and a capable PC for photo editing
4. Backup strategy
Develop a reliable system for your valuable RAW files
5. Workflow setup
Build a fixed routine from capture to final output
Choosing the right image format is important, but it's not the deciding factor for successful photography. More important are good subjects, solid technical understanding and a trained eye for composition. With RAW as your foundation and a thoughtful workflow you're well prepared for every challenge of modern photography.
From my workflow
35mm & 120mm film presets
Portra, Kodak Gold, Velvia, HP5 & more — ready-made XMP presets for Lightroom Classic and mobile.