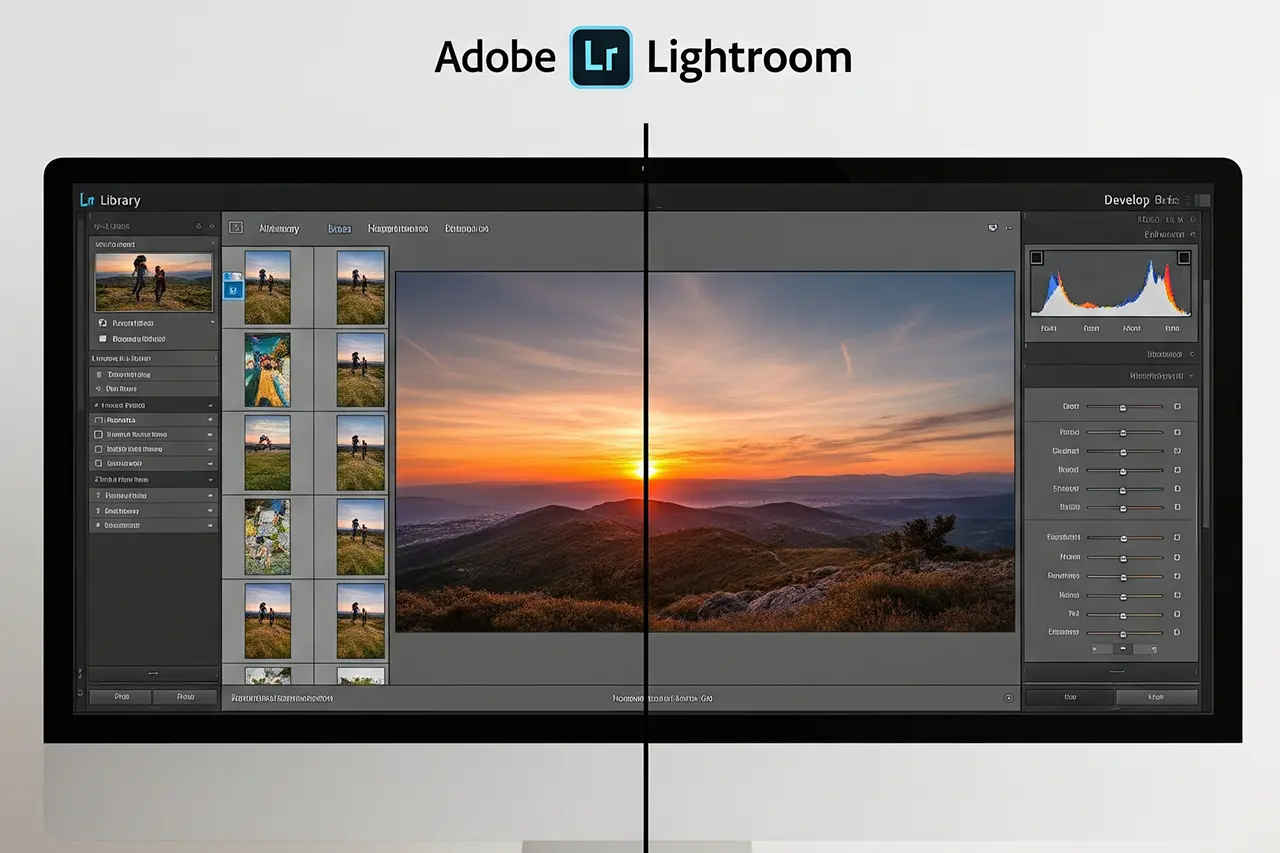
Everything about Adobe Lightroom in 2026: features, benefits, pricing and why it's the most important tool for photographers. Classic vs. Cloud, Generative AI, alternatives and getting-started tips — from more than 15 years of practice.
Author
Martin Kleinheinz
Photographer · Hannover
Updated
May 25, 2026
"What actually is Lightroom?" — I still hear this question in 2026 just as often as ten years ago. The short answer: Lightroom is the single most important tool for digital photographers, period. The longer answer is this guide, which not only covers the basics but also frames the big leaps of the past few years — chief among them the Generative AI pipeline in Lightroom Classic with Generative Remove, Generative Expand and AI masking for subject, sky and people.
Adobe Lightroom is a software suite for RAW development and photo management, built specifically for photographers. While Photoshop is the Swiss army knife of image editing, Lightroom is the perfectly tuned toolbox for photographic workflows. It turns RAW files into vibrant pictures and chaotic photo collections into organized libraries.
After more than 15 years in digital photography I can say: Lightroom has revolutionized the way we edit and manage photos — and with the 2025/2026 updates it's taken another step forward. Anyone who shoots seriously will have a hard time avoiding Lightroom in 2026. Even so, it's worth looking at the Lightroom alternatives and at the difference between Lightroom and Lightroom Classic before committing to a subscription.
In this guide you'll learn everything about Lightroom: what it is, how it works, which version is right for you, what it costs in 2026 and why it has become indispensable for every serious photographer.
00
Quick recommendation
Classic or Cloud — and who the Photography Plan pays off for
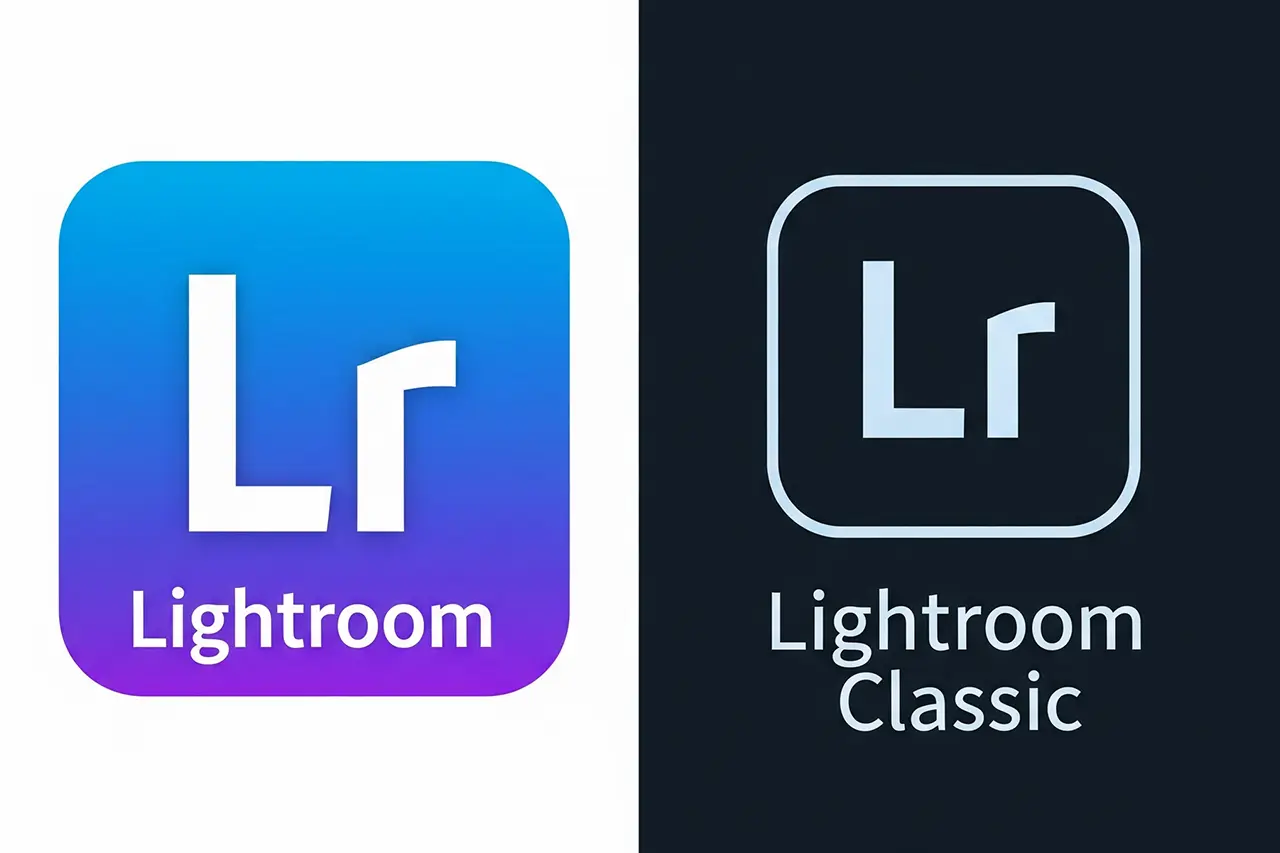
If you only have 30 seconds, here's the honest short version from more than 15 years of practice: there are two Lightroom variants — Lightroom Classic (desktop, local catalog) and the simply named "Lightroom" — Lightroom (Cloud). Both are called Lightroom, but they're fundamentally different.
Lightroom Classic
The pro variant with a local catalog on your computer. Best-in-class digital asset management, every editing tool, faster with large archives. Mandatory for anyone managing more than a few thousand images or working professionally. The entire Generative AI pipeline (Remove, Expand, Smart Masks) lands here first in 2025/2026.
Lightroom (Cloud)
The cloud variant syncs all images between desktop, iPad and smartphone. Streamlined interface, perfect for mobile workflows and hobbyists. Cloud storage (20 GB in the Photography Plan, 1 TB in the Lightroom subscription) is the natural limit.
Adobe Photography Plan
The Creative Cloud Photography Plan (about €12.99/month) includes both Lightroom versions plus Photoshop and 20 GB of cloud storage. For most photographers, this is by far the most sensible choice — still the best price-performance ratio in the Adobe universe in 2026.
Which version exactly fits you depends on your image volume, your device landscape and your workflow. If you want to understand the difference in detail, read the in-depth comparison Lightroom vs. Lightroom Classic — I cover catalog, sync and migration paths there. The following chapters first explain the basics and then work up to features, pricing and the beginner workflow.
◆ Lightroom PresetsBundle
Photos with film character
9 Lightroom presets inspired by Portra, Kodak, Fuji & Ilford — for street, portrait and landscape. One-time €29, no subscription.
Adobe Lightroom is a software suite for digital photography that does two main things: RAW development and photo management. Unlike Photoshop, Lightroom is optimized specifically for the photographic workflow. You're not working with pixels and layers but with sliders, profiles and catalogs — the building blocks that matter to photographers.
RAW development: the digital darkroom experience
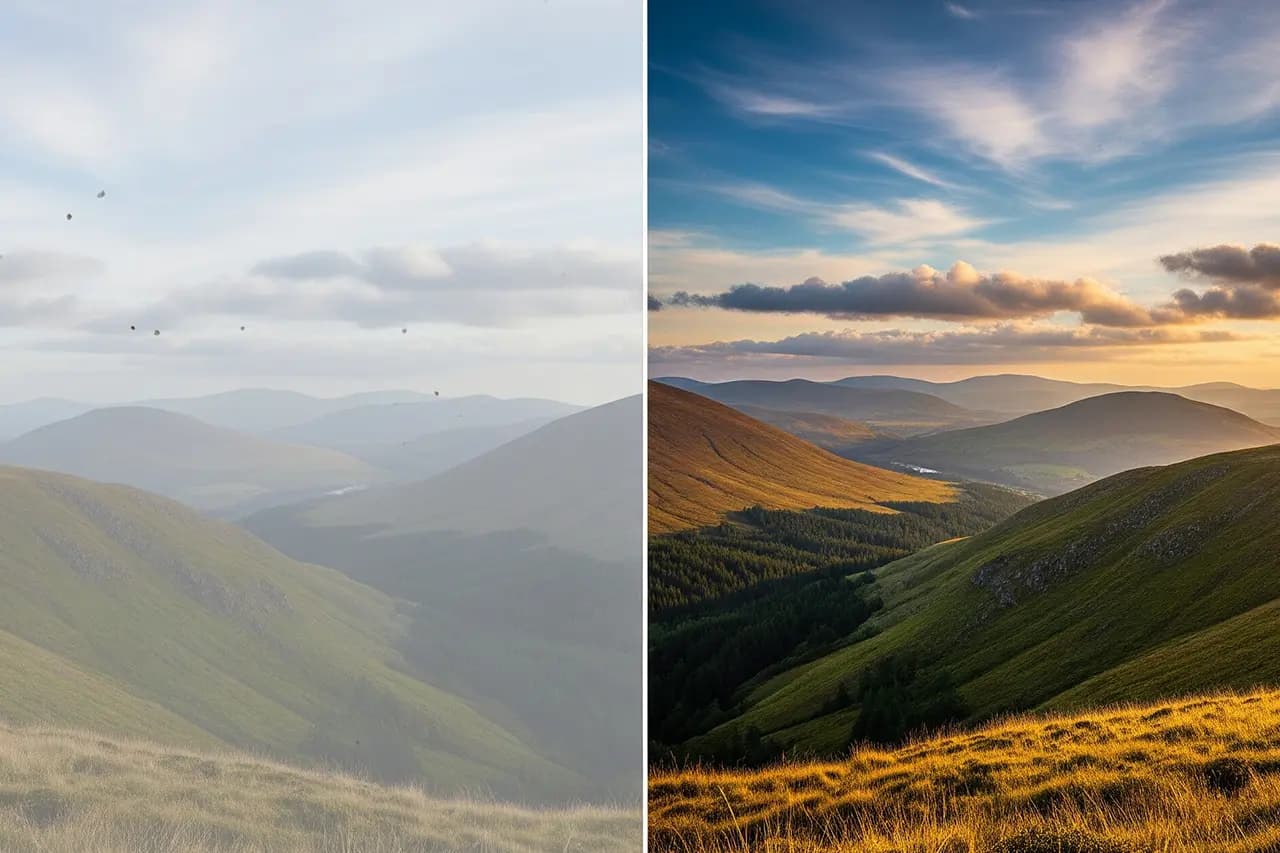
RAW files are like digital negatives — they contain all the image information your sensor recorded. Lightroom turns this "raw" data into finished photos through a process called "development". You're not working on the image directly but on a list of instructions that Lightroom applies on the fly to the original.
What Lightroom does in the process: correct exposure, adjust colors, optimize contrast, sharpen detail, reduce noise, correct lenses — and, when needed, all of that for hundreds of images at once.
The advantage over JPEG: RAW files offer 12–14 bits of color depth (vs. 8 bits in JPEG), making far more information available in shadows and highlights. Editing JPEGs leaves headroom on the table — developing RAWs squeezes the last drop out of the sensor.
Photo management: the smart catalog
Lightroom organizes your photos in a catalog — a database that stores all metadata, edits and organizational information. That's far more powerful than simple folders and the reason Lightroom is irreplaceable for many photographers.
Catalog features: star ratings, color labels, keywords, collections, smart collections, GPS data, face recognition (especially in Lightroom Cloud) and, since the 2025/2026 updates, a much faster AI-driven image search that filters by content and people.
Search and find: instantly find every 5-star photo from last summer, all portraits with certain people, or every shot taken with a particular camera. On a solid PC for image editing, this stays smooth even with 100,000+ images.
Lightroom vs. Photoshop: different tools for different jobs
Many beginners confuse Lightroom and Photoshop or think they do the same thing. They don't — both programs complement each other perfectly and are included together in the Adobe Photography Plan.
Lightroom is ideal for: RAW development, global adjustments, photo management, batch editing, AI masking, basic retouching and — since 2025/2026 — increasingly also Generative AI tasks like removing or expanding image areas.
Photoshop is ideal for: pixel-level retouching, compositing, complex manipulation, layer work, precise selections, beauty retouching and anything beyond the basics of photographic editing.
Typical workflow: 90 % of the work in Lightroom (RAW development, base adjustments, selection), then jump to Photoshop for specific retouches as needed. If you haven't taken the leap to Photoshop yet, our image editing for beginners guide has a step-by-step intro.
02
Versions
Lightroom Classic vs. Lightroom CC: which version is right?
Adobe offers two different Lightroom versions that differ fundamentally. Both are called Lightroom, both develop RAW — but the concept behind them is different. Here's the detailed comparison:
Feature
Lightroom Classic
Lightroom CC
Recommendation
Storage location
Local on the computer
Cloud-based
Classic for large libraries
RAW editing
Full
Full
Both equally good
Catalog management
Comprehensive
Simplified
Classic for pros
Sync
Limited
Full
CC for mobile workflows
Performance
Faster with large libraries
Slower with many photos
Classic from 10,000+ photos
Offline use
Fully possible
Limited
Classic for unstable internet
Detailed comparison of Lightroom Classic and Lightroom CC (as of 2026)
Lightroom Classic: the pro standard
Lightroom Classic is the "traditional" version for serious photographers. It stores all photos locally on your computer and offers the most extensive management and editing options. Adobe also releases most new features — including the Generative AI pipeline — in Classic first.
Key advantages: unlimited local storage, faster performance on large libraries, comprehensive catalog functions, every editing tool including Generative Remove/Expand, full local backup control and complete plugin support for third parties from the image editing plugins ecosystem.
Disadvantages: more complex to operate, no automatic cloud sync for all images, harder mobile access. To use the full spectrum, you also need a color-accurate monitor for image editing — otherwise you waste the potential of RAW development.
Lightroom CC: the cloud-based future
Lightroom CC is the modern, cloud-based version. All photos are automatically synced to Adobe Creative Cloud and available everywhere — on the desktop, iPad or smartphone. The interface is deliberately simplified and focuses on the essentials.
Key advantages: automatic sync, seamless mobile access, simplified operation, automatic cloud backups, AI-driven search functions and an extremely low entry barrier because you don't have to manage a catalog manually.
Perfect for: hobby photographers, smartphone shooters, travelers and anyone who wants easy mobile access to their photos without worrying about backup strategies or catalog maintenance.
Decision guide: which version suits you?
Choose Lightroom Classic if: you have lots of photos (>5,000), work professionally, value local control, mostly work on a desktop or want to use the full AI and Generative AI features.
Choose Lightroom CC if: you have few photos (<5,000), need mobile access, prefer simplicity, often switch between devices or your smartphone is your main camera.
Use both: the Creative Cloud Photography Plan includes both versions. You can use them in parallel and switch depending on the situation — e.g. Classic on the desktop for main editing and Lightroom on the iPad for quick adjustments on the go.
03
Features
The most important Lightroom features at a glance
Lightroom offers a wealth of features for every aspect of digital photography. Here are the most important ones you should know — including the new arrivals from the 2025/2026 updates:
The Develop module: the heart of image editing
The Develop module is where the magic happens. Here you turn RAW files into finished works of art using professional tools — from exposure correction to the tone curve. It's the module you'll spend 80 % of your time in as a photographer.
Basic adjustments: exposure, contrast, highlights, shadows, whites and blacks, clarity, vibrance, saturation. This is the foundation of every edit — anyone who masters these eight sliders has 70 % of all images under control.
Tone curve: precise control over brightness and contrast in different tonal ranges. The tone curve is one of the most powerful tools you have — and mandatory for anyone building a consistent look.
Color corrections: HSL adjustments for individual colors, color balance, calibration and — prominently placed for several years now — the Color Grading panel with separate controls for highlights, midtones and shadows.
Local adjustments: precision meets creativity
Not every image should be edited globally. Lightroom's local adjustment tools enable precise editing of individual areas — and this is where Adobe has made the biggest gains in the last two years.
Linear gradient: perfect for sky adjustments or to selectively improve certain areas. A classic for landscape photography.
Radial gradient: creates circular or oval adjustment areas — ideal for vignettes or to guide the viewer's eye.
Mask/brush: pixel-accurate adjustments with various brush sizes and hardnesses. Combined with the AI masks, the brush becomes a fine-tuning tool.
AI masking (subject, sky, people): introduced in 2024 and massively expanded in the 2025/2026 updates, Lightroom now automatically detects subject, sky, people, background, buildings, water and individual body parts (face, hair, eyes, lips, teeth, clothing). A click on "Select Subject" precisely masks the main motif — including delicate hair tips. This AI masking is probably the most important workflow acceleration in Lightroom in 2026: what used to be done manually in Photoshop with selection brushes and refinement now takes seconds directly in Lightroom Classic.
Luminance and color masks: automatic selection based on brightness or colors. Both can be combined with the AI masks — e.g. "only the bright areas in the sky" — making local adjustments extremely precise.
Presets and automation: boost efficiency
Lightroom presets are saved edit settings that can be applied to other photos with a single click. They save enormous time and ensure consistent looks. Anyone developing their own style needs presets — how it works is shown in the guide on creating your own Lightroom presets.
Create your own presets: edit a photo to your taste, then "Create Develop Preset" and all settings are saved. You can pick which sliders go into the preset — useful when you only want to copy the color-grading look and set exposure individually per image.
Sync function: select multiple photos and sync editing settings between them — perfect for entire series from the same setup, like a wedding sequence or a product shoot.
Import presets: automatically apply edits while importing new photos. I use this for a base preset (sharpening, noise reduction, lens corrections) — so I already have a consistent starting point after import.
Lightroom Presets9 film looks inspired by Portra, Kodak & Fuji —View pack →
04
Pricing
Lightroom pricing and subscriptions: what does it really cost?
Adobe offers several subscription plans for Lightroom. There has been no perpetual license for years — if you want to use Adobe, you accept the subscription model. Here's the overview of current prices and what's included in 2026:
Adobe Lightroom pricing and subscription options (as of 2026 — prices may change, always verify on Adobe's site).
Creative Cloud Photography Plan: the best choice for most
The Creative Cloud Photography Plan at about €12.99/month is the best choice for most photographers. You get both Lightroom versions plus Photoshop for less than a cup of coffee a day — by far the strongest image-editing package on the market.
What's included: Lightroom Classic, Lightroom (Cloud), Photoshop, 20 GB cloud storage, mobile apps (Lightroom Mobile, Photoshop for iPad), desktop sync, all Generative AI features and a 7-day trial.
Annual payment: with yearly upfront payment, you save about 20 % over monthly billing — if you'll be working with Adobe permanently anyway, take the yearly plan.
Editor's Choice
Adobe
Adobe Photography Plan (Lightroom Classic + Photoshop)
The entry point into professional photo editing
The **Creative Cloud Photography Plan** includes Lightroom Classic, Lightroom (Cloud), Photoshop and 20 GB of cloud storage — the standard entry for photographers who want to develop RAW files and manage large archives.
Was überzeugt
+Both Lightroom variants in a single subscription
+Photoshop for retouching and compositing included
+Largest tutorial and preset ecosystem
+AI masking and Generative AI in Classic (2025/26)
Was Du wissen solltest
−No one-time purchase — the subscription ends on cancellation
−20 GB cloud is often too little for pure CC use
−Learning curve in Classic is steeper than in Luminar Neo
Editor's Statement
“My recommendation for beginners: Classic + Photoshop in one package”
Many photographers object to the subscription model. Here are the most important alternatives to Adobe Lightroom — for the full comparison with migration paths, strengths and weaknesses, see the Lightroom alternatives 2026 guide.
Software
Price
Strengths
Weaknesses
Luminar Neo
Lifetime from approx. €149
AI features, easy operation
Slower performance
Capture One
From €20/month
Best RAW engine, pro features
Steep learning curve
ON1 Photo RAW
One-time purchase €99
No subscription fees
Fewer updates
Darktable
Free
Open-source RAW
Steep learning curve
The best Lightroom alternatives compared (as of 2026)
Cost/benefit analysis: is Lightroom worth it?
€12.99 per month sounds like a lot at first, but let's run the math: that's about 43 cents a day for professional software used every day — cheaper than any streaming service.
What you get for that: continuous updates, new features (in 2025/2026 alone Generative Remove, Generative Expand and dramatically expanded AI masks were added), cloud sync, technical support, mobile apps and Photoshop included.
Compared to one-time purchase software: Luminar Neo as a lifetime license starts around €149, but major updates and extensions often cost extra. Capture One Pro is around €349 as a perpetual license — after 2–3 years, the Adobe subscription is often cheaper, especially because Photoshop and every new AI feature come with it automatically.
05
Audience
Who is Lightroom for? The honest answer
Lightroom isn't the right solution for everyone. The subscription, the feature scope and the learning curve legitimately put off some users. Here's an honest take on who it's worth it for and who should pick alternatives:
Perfect for these photographers
RAW photographers: if you shoot in RAW, Lightroom is practically indispensable. The RAW engine is one of the best on the market and gets better with every update — including current camera models, which are usually supported within weeks.
Professionals and semi-pros: comprehensive catalog functions, batch editing, AI masking and workflow efficiency are decisive for working photographers. Anyone delivering hundreds of images a day from weddings or events has little choice but Lightroom.
Ambitious hobby photographers: if you genuinely want to push image quality, you can't avoid professional tools. Lightroom is the natural entry point — also because of the huge tutorial community.
The organized type: Lightroom's catalog features are perfect for anyone who wants to manage large photo collections systematically. Anyone with a 50,000+ image archive will despair using a plain file browser.
Less suitable for these users
Smartphone-only photographers: if you shoot exclusively with a smartphone, mobile apps like VSCO, Snapseed or Lightroom Mobile (the free version) are often enough. The full Photography Plan only pays off once you also edit on the desktop.
Casual snappers: if you only take a few photos and share them unedited, you don't need a professional tool. A free cloud library (Apple Photos, Google Photos) is more than enough.
Budget-conscious beginners: if the monthly subscription is a financial burden, there are free alternatives like Darktable or RawTherapee. They have a steeper learning curve, but free access to professional-grade RAW development.
Subscription refusers: if you fundamentally won't subscribe, you'll need one-time-purchase alternatives like Luminar Neo, ON1 Photo RAW or Capture One (perpetual license).
Learning curve and time investment, realistically
Basics: 2–4 weeks for the most important features if you invest 30 minutes a day. After that, you can import, do basic edits and export — enough for 80 % of everyday tasks.
Advanced techniques: 3–6 months for complex workflows, local adjustments, AI masking and efficient organization. This is where you notice the difference between "I know the buttons" and "I know when to press them".
Mastery: 1–2 years for truly professional use of every feature, including color grading, Generative AI, custom presets and a consistent image style across thousands of photos.
Learning resources: YouTube tutorials, Adobe's own training videos, online courses, preset guides, photography communities. To solidify the broader workflow, watch the image editing for beginners guide alongside.
06
Onboarding
First steps with Lightroom: the onboarding guide
Decided on Lightroom? Perfect! Here's your step-by-step plan for the optimal onboarding — from installation to your first finished edit.
Installation and first-time setup
1. Install the Creative Cloud Desktop app: download it from Adobe.com and sign in with your Adobe account. Through the Desktop app you install all Adobe programs and manage updates.
2. Install Lightroom Classic: I recommend starting with Classic since it's more comprehensive and you can install "Lightroom" (Cloud) on top any time. A single click in the Desktop app does it.
3. Create your first catalog: on first launch Lightroom will ask for a catalog location. Pick a spot with plenty of storage — ideally an SSD, because the catalog is constantly read from and written to.
Your first import workflow
Prepare the import: connect your camera or memory card to the computer or choose a folder with existing photos. Lightroom supports every common card type and SD reader.
Import dialog: click "Import" at the bottom left. Lightroom shows all available photos including previews, star ratings and selection filters.
Important settings: choose "Copy" or "Add" (for local folders), set the destination folder, create a logical folder structure (e.g. year/month/event) and skip DNG conversion when in doubt — original RAWs are more future-proof.
Add metadata: copyright information, keywords, maybe even initial collections. Doing this at import saves you hours of keywording later.
Your first edits: the 5-minute workflow
1. Pick a photo: switch to the Develop module (D key) and select a RAW photo. Lightroom loads the full resolution — that can take a few seconds the first time.
2. Basic adjustments: start with exposure (brighter/darker), then lift shadows, pull down highlights, adjust contrast. These four sliders often make up 80 % of the edit.
3. Optimize colors: raise vibrance slightly (not saturation!), correct white balance if needed. Vibrance is "smarter" than saturation because it doesn't push already-saturated colors further.
4. Sharpen details: in the Detail panel raise sharpening slightly (usually 25–40), apply noise reduction at high ISOs. Since 2023 there's also "Denoise (AI)" — the best tool for high-ISO images from ISO 6,400 upwards.
5. Export: for web: JPEG, sRGB, 2,048 px long edge, quality 80. For print: JPEG, AdobeRGB, full resolution, quality 90. Lightroom remembers your defaults as export presets — saving plenty of time later.
07
Pitfalls
The 7 most common Lightroom beginner mistakes (and how to avoid them)
Almost every Lightroom beginner makes these mistakes. That's perfectly normal — what matters is to recognize them early and avoid them before they become a routine:
Mistake #1: catalog chaos from the start
The mistake: importing photos wildly without a system, no consistent folder structure, missing keywords and ratings. After two years, nobody can find anything anymore.
The fix: develop a system BEFORE you import thousands of photos. Use star ratings, color labels and keywords consistently — ideally right at import.
Mistake #2: over-editing — when more becomes too much
The mistake: every slider maxed out, oversaturated colors, extreme contrast, unnatural HDR effects. The classic beginner look that every pro spots immediately.
The fix: less is more. Edit a photo, take a break, look at it later. Often you'll notice it was overdone. Compare regularly with the unedited original.
Rule of thumb: if any editing slider is above +50 or below -50, ask yourself if it's really necessary. Usually the answer is no.
Mistake #3: neglecting backup — the disaster
The mistake: only one copy of the catalog, no backup of RAW files, blind trust in a single drive. The most common reason photographers lose years of work.
The fix: follow the 3-2-1 rule: 3 copies of your data, on 2 different media types, 1 of them offsite (cloud or external drive at a different location).
From my workflow
35mm & 120mm film presets
Portra, Kodak Gold, Velvia, HP5 & more — ready-made XMP presets for Lightroom Classic and mobile.
This article contains affiliate links to Adobe. If you buy through these links, I earn a small commission — at no extra cost to you. Thanks for your support!
◆ Newsletter
Stay in the loop.
Camera and photography news, honest gear tests and new articles — in your inbox. Infrequent but relevant. No spam, unsubscribe anytime.