
Smartphone Photography 2026: Better iPhone Photos — and when a camera makes sense

Light, composition, the most important camera settings at a glance and an honest comparison: smartphone vs. beginner camera — so you know what your iPhone already does and when an upgrade pays off.

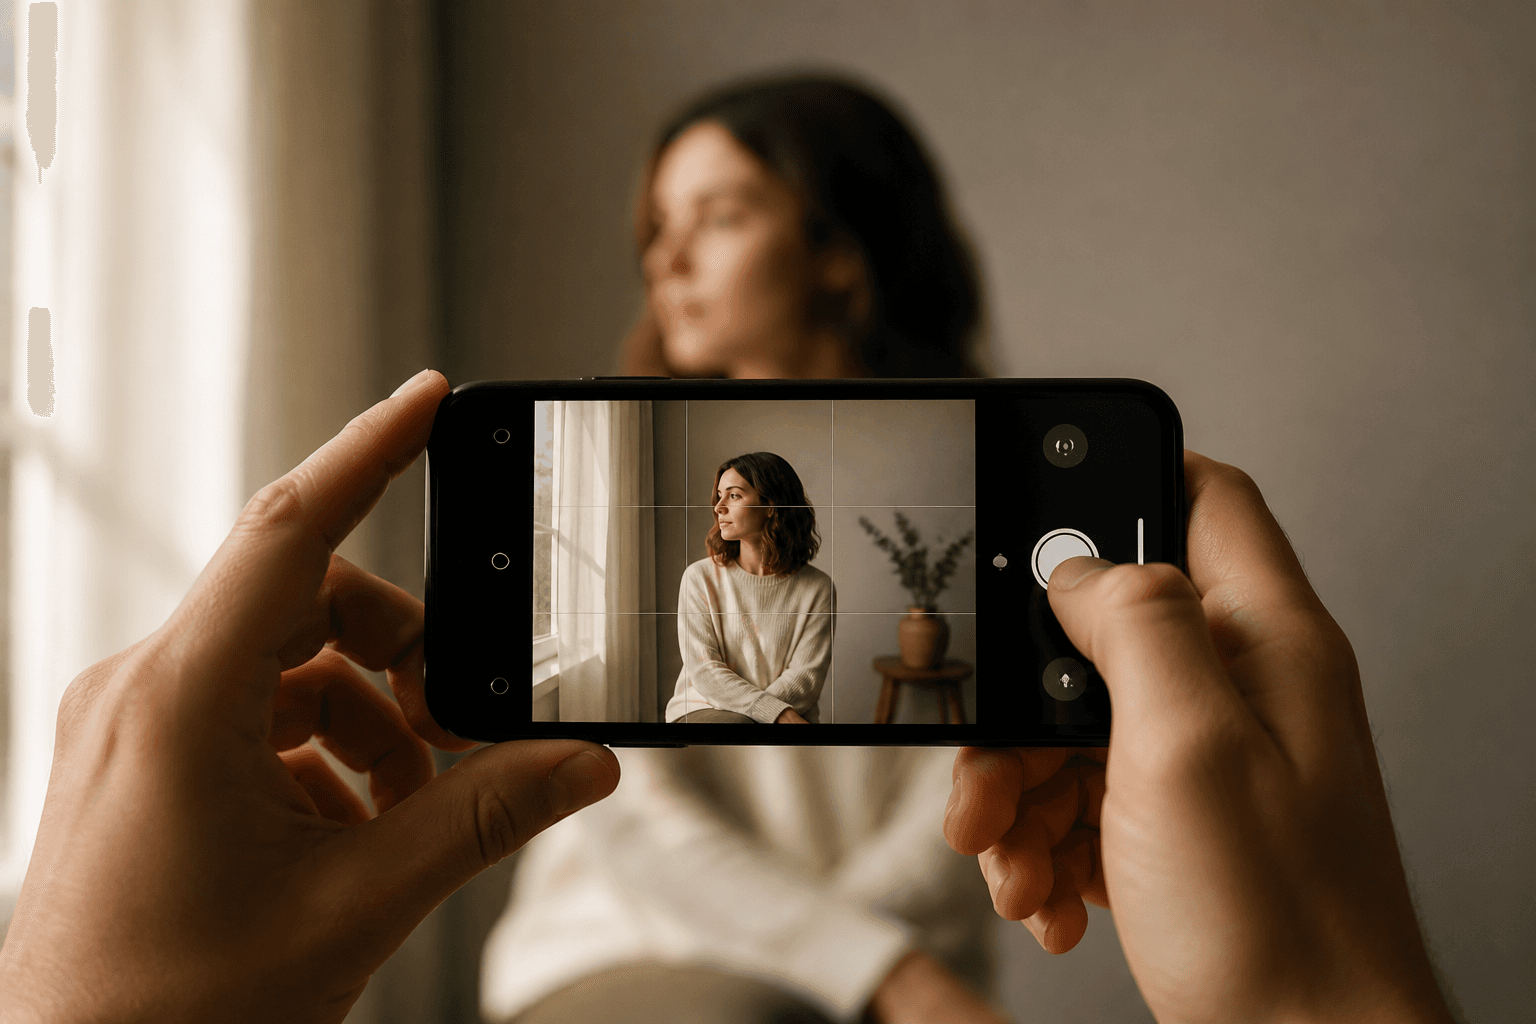
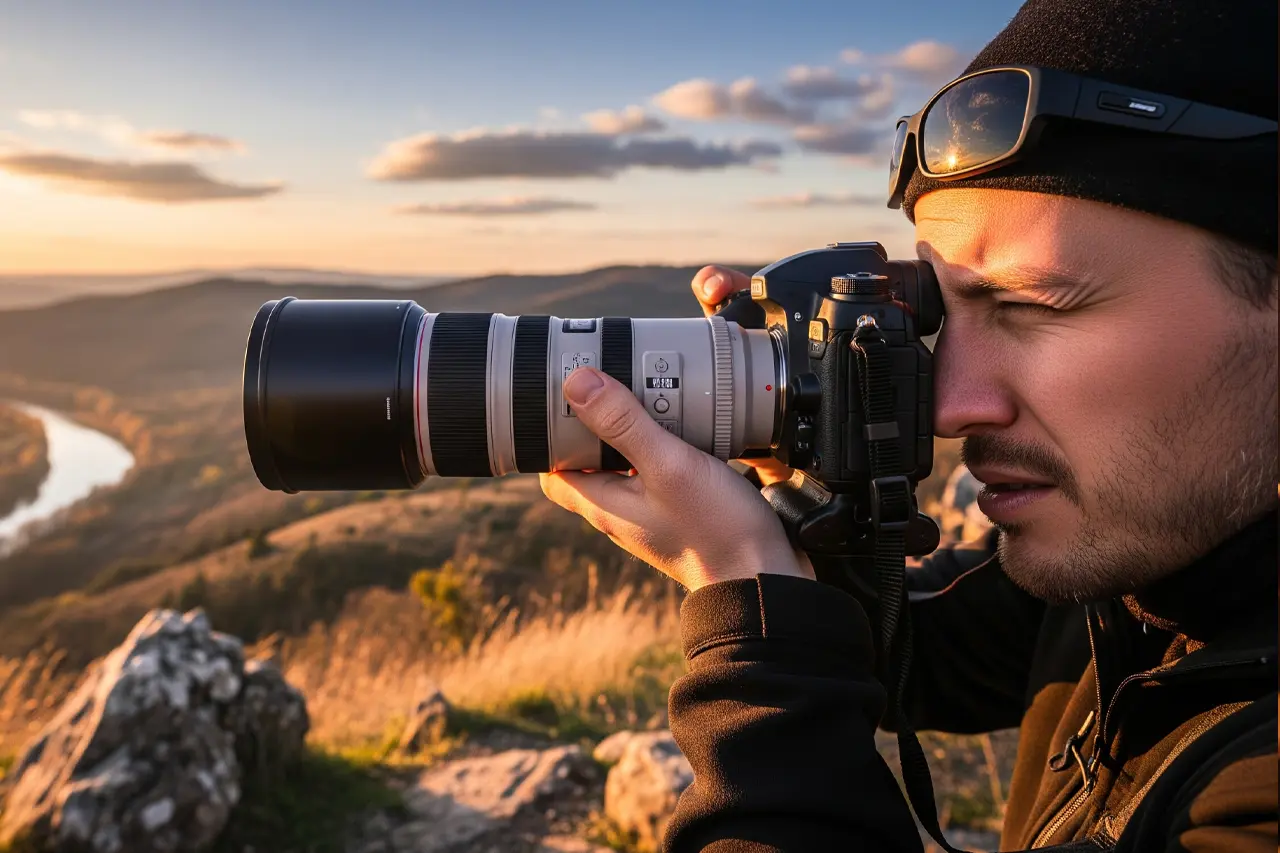
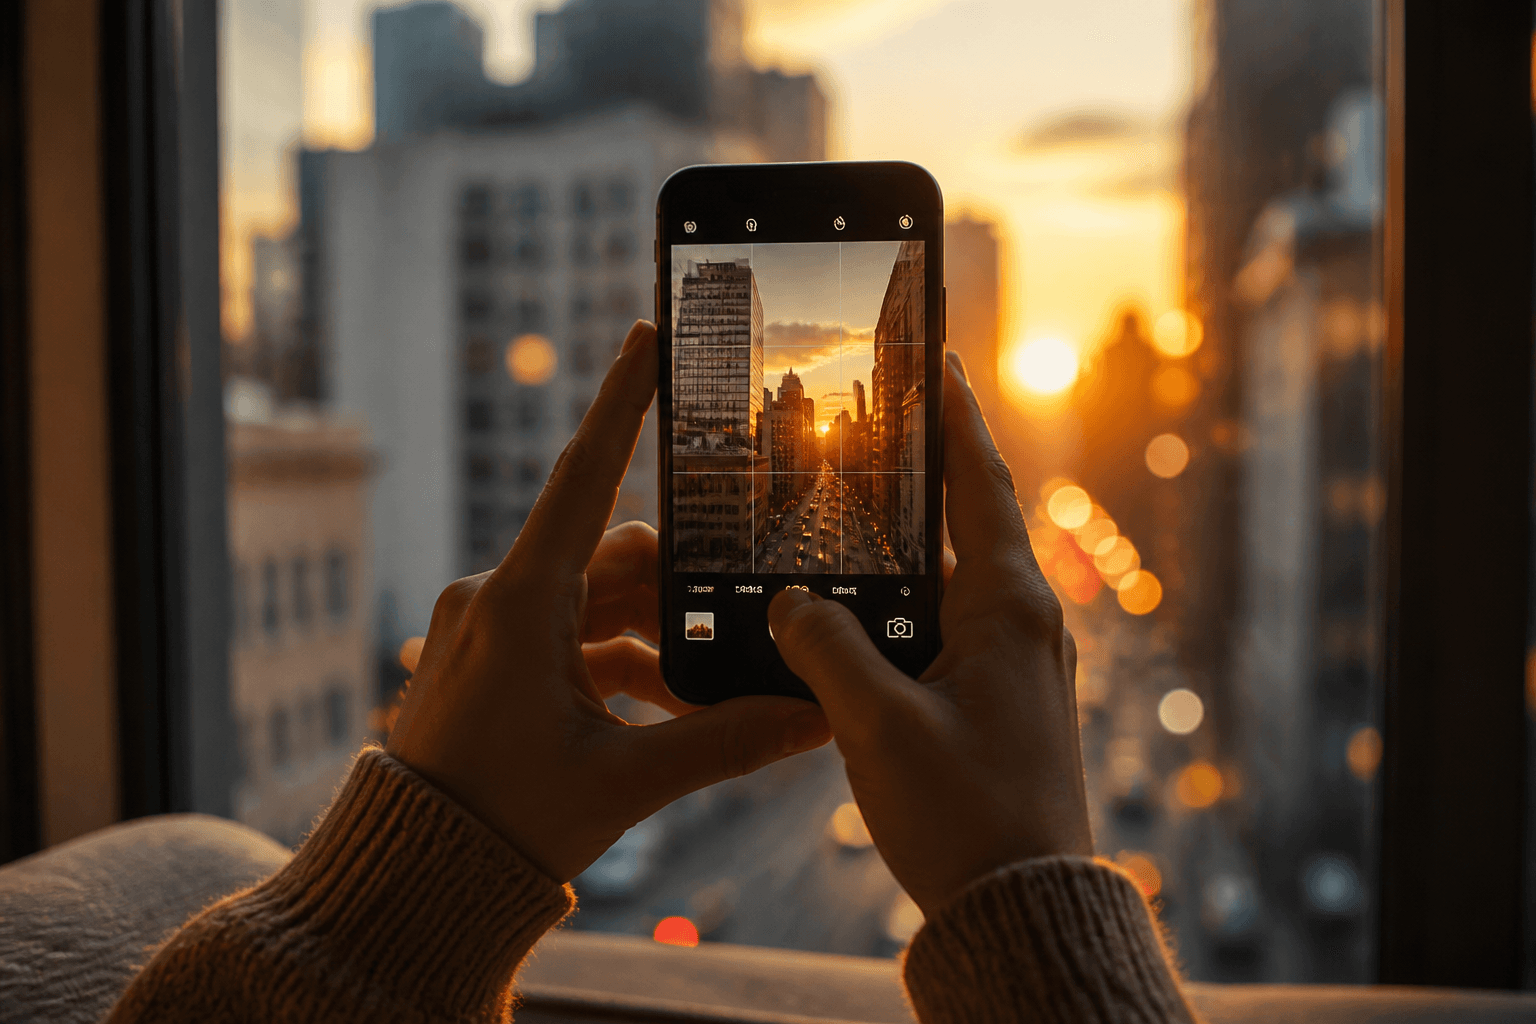
Smartphone photography — iPhone photo in golden hour
Martin Kleinheinz
Author
Martin Kleinheinz
Photographer · Workshops · Hannover
Updated
August 22, 2026

Your iPhone (or Pixel, Samsung, whatever you use) is probably the camera you use most often — and yet many people wonder about blurry night shots, distorted portraits or soft kids' photos. That's rarely the device. It's because smartphones get used like a point-and-shoot, even though they can do much more — if you know where to tap and when to intervene.

This guide shows you how to take noticeably better photos with your phone: light, composition, the key settings in the camera app — without tech overload. Deep iPhone menus (ProRAW, Photographic Styles, manual control) we deliberately only touch on here; there's a follow-up article for that: iPhone Camera Settings.

At the end you'll also know when the smartphone is enough — and when a beginner camera is the smarter next step. More on universal photo principles: Take Better Photos.
00
Quick

What your phone already does today

Current iPhones (from iPhone 13), Google Pixel and Samsung flagships deliver daylight results that would have beaten pro compacts ten years ago. Multiple cameras, stabilisation, HDR, Night Mode, portrait mode — all there. What's usually missing isn't hardware but habit: swiping instead of thinking, digital zoom instead of moving closer, flash in a bar instead of stepping to the window.

Instant improvement
Clean the lens · turn toward the window · enable grid · tap and hold focus + exposure · use optical zoom, avoid digital.
With a bit of practice
Use golden hour, choose background consciously, tripod for night (smartphone tripods), burst mode for movement.
When you want more
Beginner camera from around €600 — especially for low light, real zoom and large prints.
01
Basics

The 4 levers that help most on a phone

Before you click through any menus: these four things improve every phone camera — iPhone, Android, old or new.

1. Light

Indirect daylight is your best friend. Stand by a window, let the sun fall sideways on your subject — not from behind (silhouette) and not frontal in harsh midday sun (hard shadows under the eyes). One hour before sunset: warm, soft light that flatters almost everything.

2. Composition

Enable the grid (rule of thirds) in camera settings. Place faces, horizons and key details on the intersections — not automatically in the centre. More depth: something in the foreground (branch, railing), subject behind. In depth: Take Better Photos — composition.

3. Stability

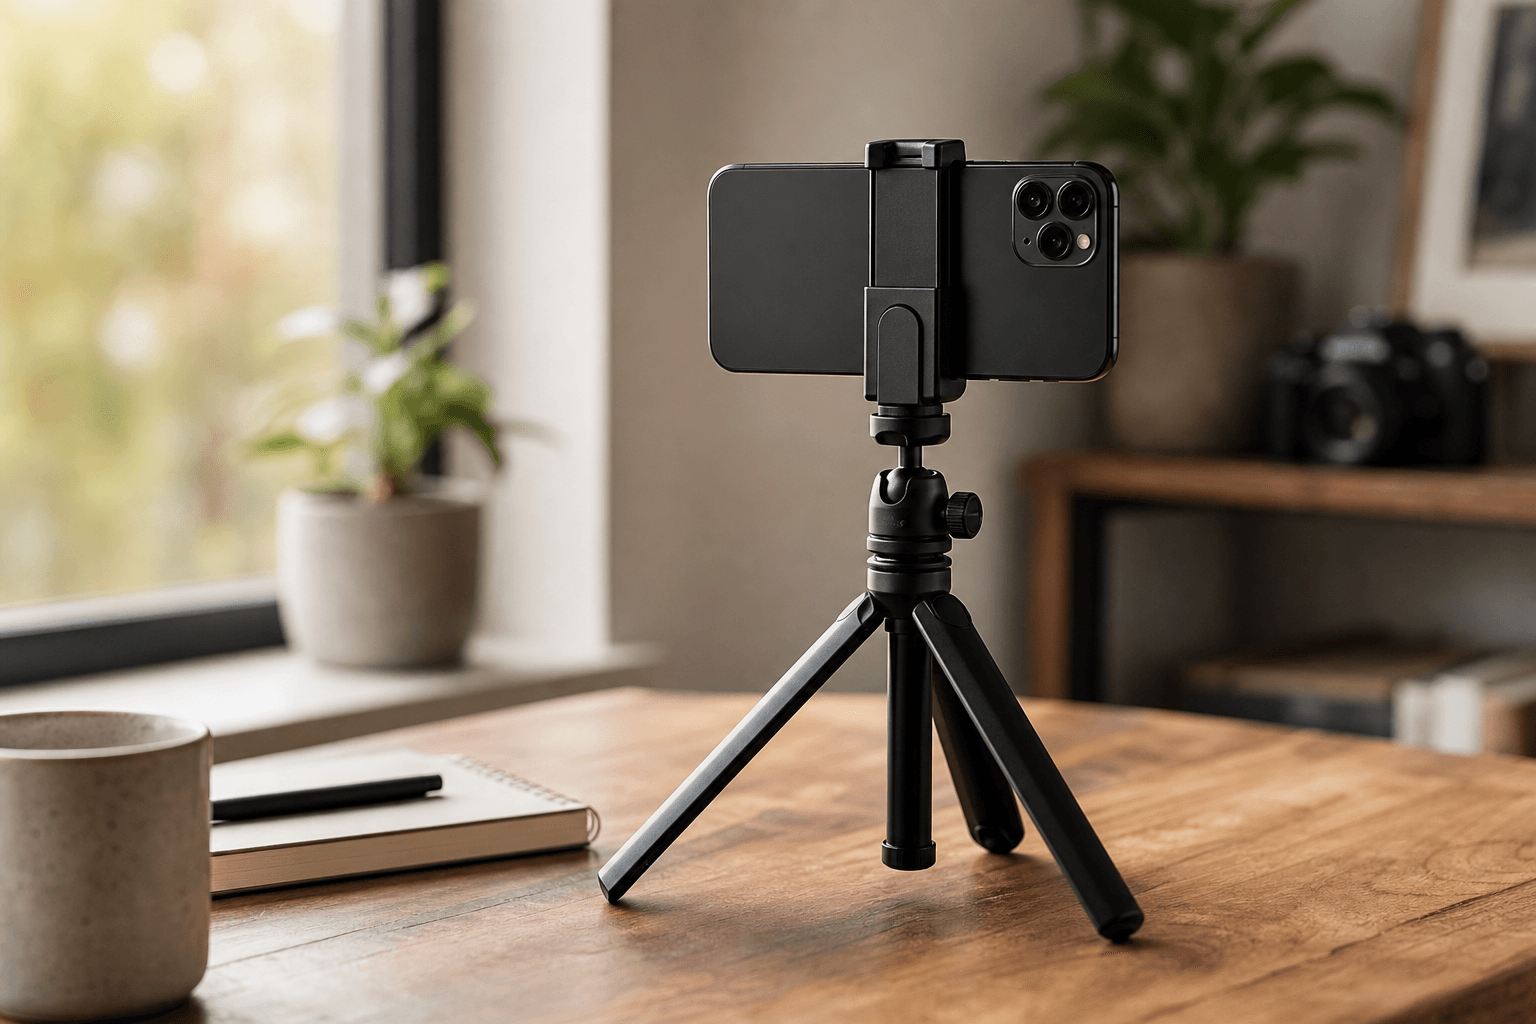
In low light the phone lengthens exposure — any hand movement goes soft. Lean on something, brace yourself, or use a mini tripod. Night Mode often needs 1–3 seconds — hold still until the bar finishes.

4. Focus & exposure

Tap on the subject (face, flower, food). Hold briefly — AE/AF Lock (iPhone) or focus lock (Android). Then swipe slightly up/down for brightness. Auto is good, but it often optimises the background — not your subject.

35mm & 120mm film presets — Lightroom presets by Martin Kleinheinz
Lightroom PresetsBundle

Photos with film character

9 Lightroom presets inspired by Portra, Kodak, Fuji & Ilford — for street, portrait and landscape. One-time €29, no subscription.

35mm & 120mm Film Lightroom Presets · €29

View film presets9 presets · XMP · lifetime
02
Settings

Camera app: the most important settings

You don't need to understand every option. These seven are enough for noticeably better everyday photos. Everything beyond that — ProRAW, Photographic Styles, manual ISO/shutter, log profiles — is in the follow-up iPhone Camera Settings.

SettingWhere (iPhone)What it does
GridSettings → Camera → GridRule of thirds visible — better composition
Formats → HEIF/HEICSettings → Camera → FormatsMore dynamic range than JPEG, less storage than ProRAW
HDR (Smart HDR)Automatic in Camera appSky + shadows at once — in strong contrast
Portrait modeMode "Portrait"Background blur — only with enough distance
Night ModeAutomatic in low lightTripod or brace — otherwise blurry
FlashTop left — usually OFFOnly as fill flash close to subject, not in a hall
Zoom 0.5× / 1× / 2× / 5×Bottom in appOptical steps only — beyond that is digital and soft

The 7 most important iPhone camera settings at a glance

Quick: Android (Pixel, Samsung & co.)

Pixel: Night Sight and HDR+ are strong — similar logic to iPhone (brace, don't wobble). Samsung: Photo mode vs. Pro mode — Pro only pays off when you want to control ISO and shutter consciously. Many Android devices offer RAW in third-party apps (e.g. Lightroom Mobile) — useful if you want to develop later.

Correct exposure manually: on iPhone use the sun slider after tapping — same principle as exposure correction on a "big" camera, just simplified.

03
Practice

Tips by situation

Portraits & selfies

Window light, face toward the light source. Portrait mode only with at least 1–2 metres to the background — otherwise edges look unnatural. Selfies: camera slightly above eye level, chin down, phone slightly angled. More: Profile picture guide.

Landscape & travel

0.5× wide angle for scale — but think about foreground (stone, grass), otherwise everything looks small and empty. Person in landscape as size reference. No digital zoom for details — walk closer or crop later.

Kids & movement

Burst mode (hold shutter) — then pick the sharpest frame. Better higher ISO and short sharpness than perfect light and motion blur. Eye level: go down to the child's height, don't shoot from above.

Night & indoors

Keep Night Mode on, stabilise the phone. Flash in large rooms almost always off — it only hits the front row and blacks out the rest. In bars/locations: move closer to a window or find warm side light.

Food & detail

Side light from the window (not ceiling lamp from above). Phone slightly angled from above — 45° looks more natural than strict top-down. Focus on the front plate, background far away or blurred.

04
Phone upgrade

Two camera phones — iPhone & Android

You don't need to buy a new phone for better photos — the tips above work on any model. But if your device has no usable Night Mode, no optical tele or no RAW anymore, a targeted upgrade beats the tenth editing app.

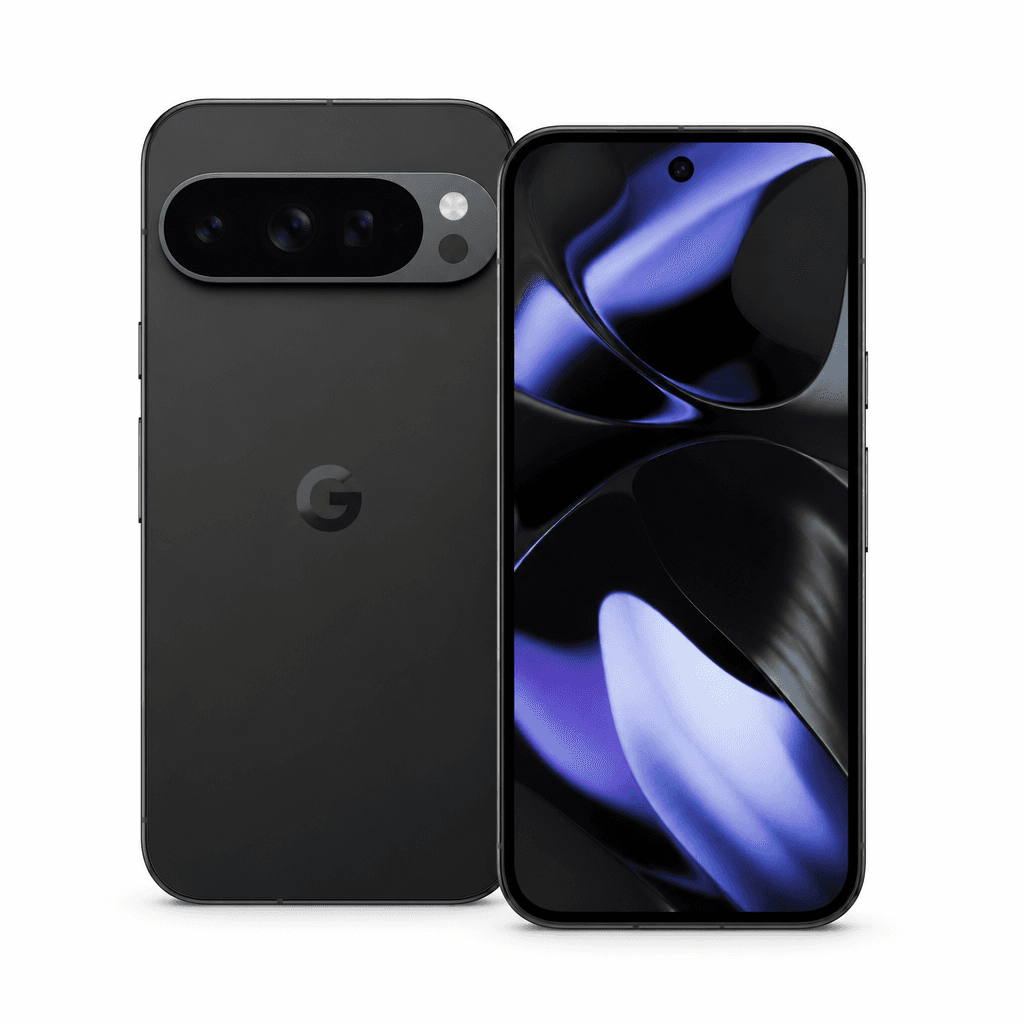
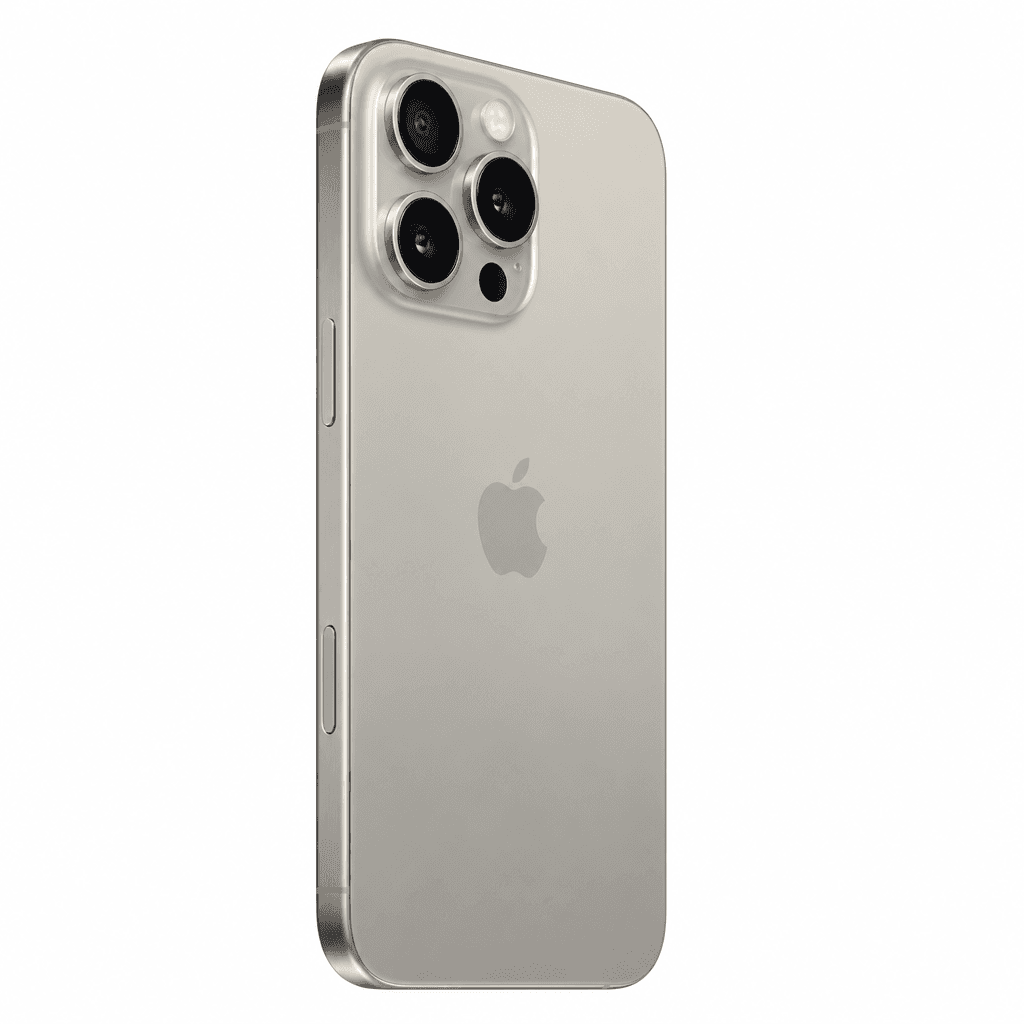
Two models I regularly recommend in 2026: Apple iPhone 16 Pro (video, ProRAW, tele, iOS ecosystem) and Google Pixel 9 Pro (Night Sight, strong automation, natural skin tones on Android). Both are Amazon affiliate links*.

Camera phone 2026

iPhone · Android

**iPhone 16 Pro** — if you stay on Apple and want video plus ProRAW. **Pixel 9 Pro** — if Android is your platform and you mainly need strong results in low light without menu stress.

Vergleich
Apple
Apple iPhone 16 Pro
Google
Google Pixel 9 Pro
Bild
Apple iPhone 16 Pro
Google Pixel 9 Pro
EmpfehlungiPhone PickAndroid Pick
Sensor48 MP · Photonic Engine · Deep Fusion50 MP · multi-exposure · HDR+
ISO-BereichOptical 3×–5× depending on modelOptical up to 5× (Pro XL)
AutofokusHEIF/JPEG · ProRAW optionalJPEG/HEIF · RAW in Pro mode
DetailVideo · colour consistency · Night ModeNight Sight · automation · skin tones
Stärken
  • +Very strong video quality and stable colours
  • +ProRAW for editing with real headroom
  • +Optical telephoto zoom instead of software crop only
  • +Very good automation in low light (Night Sight)
  • +Natural skin tones without filter look
  • +Lean camera app — ready quickly
Schwächen
  • More expensive than standard iPhone — a 14/15 Pro often suffices
  • ProRAW needs storage and an editing workflow
  • Video weaker than iPhone Pro
  • RAW workflow less mature than ProRAW
Geeignet füriPhone users who take mobile photography seriously — without a mirrorless camera.Android users who mainly want to optimise everyday photos.
Wo kaufen
05
Comparison

Smartphone vs. beginner camera

Not either/or. The phone is your default tool — fast, always there, good enough for social, family and memories. A beginner camera pays off when you hit limits software can't fix anymore.

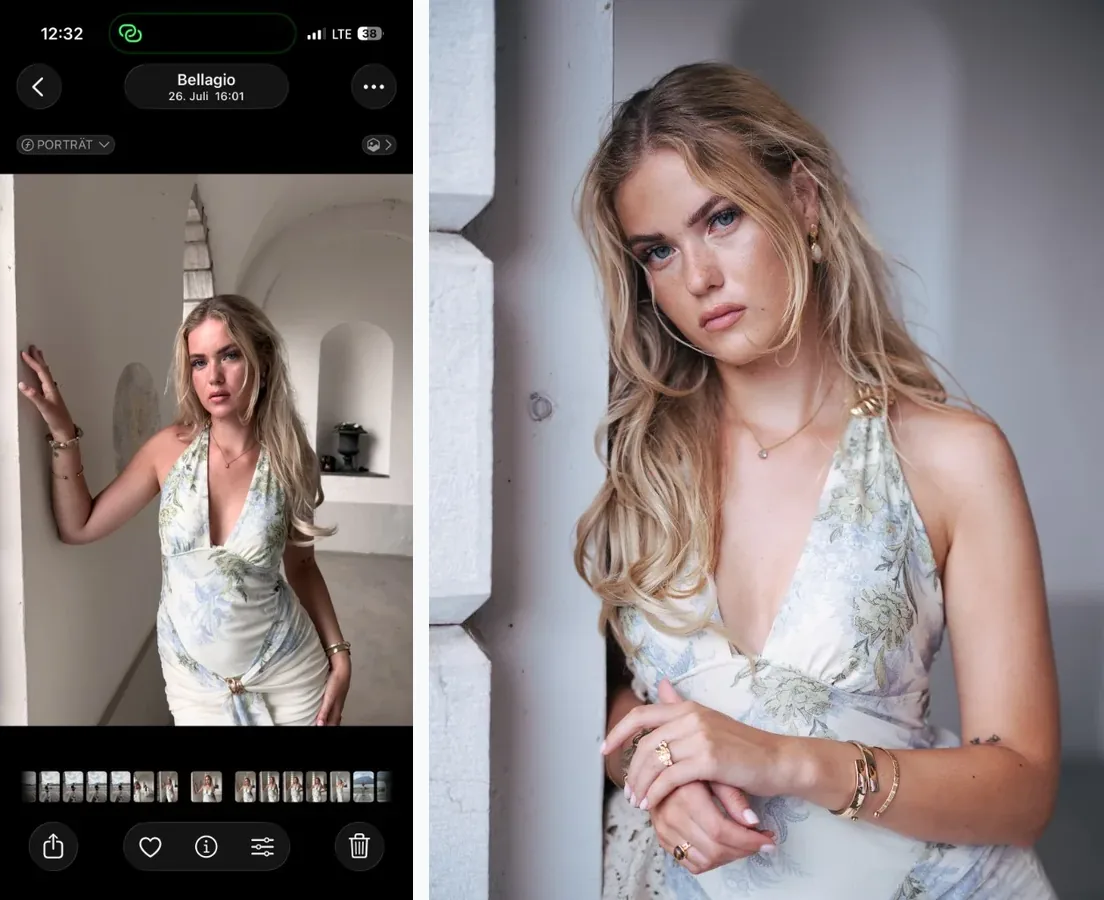
The difference shows best when it's the same person, same light, same location — just two cameras. In Bellagio I did exactly that: iPhone in portrait mode on the left, mirrorless with wide aperture on the right. On the phone display both look good. Enlarged you notice: softer skin and hair detail, less natural bokeh at the hairline and less crop headroom.

Portrait comparison Bellagio — left iPhone portrait mode, right mirrorless, same person and location
Left: iPhone (portrait mode) · Right: mirrorless — same location, similar light. For social, left often suffices; for print, zoom and real bokeh you see the difference.
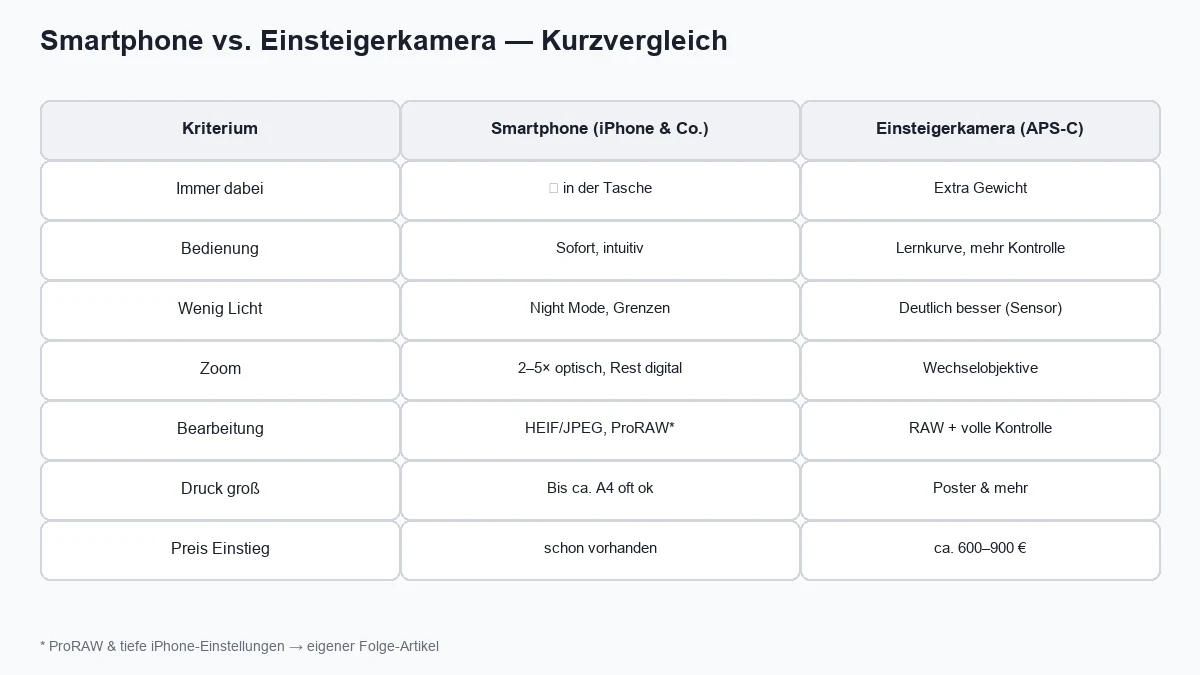
Comparison smartphone vs beginner camera — criteria table
Short comparison: what the phone handles — and where a camera leads
SituationPhoneBeginner camera
Holiday, quick snapsIdealOnly if you really want to photograph
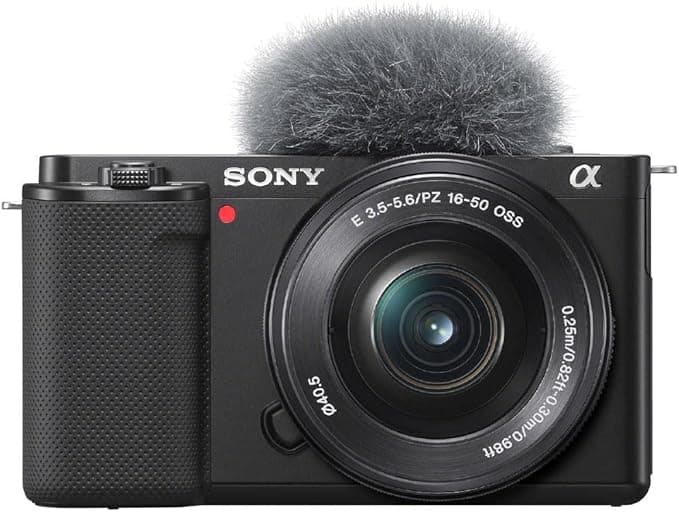
Instagram, Stories, ReelsIdealZV-E10 II etc. when video matters more
Concert, sport, fast kidsDifficultClearly more keepers through AF + sensor
Sunset, dark indoorsNight Mode helps, noise limitsAPS-C + good lens = more room
Zoom (animal, stage, architecture)Digital gets soft quicklyTelephoto lens or strong zoom
Large print (A3+)Possible, but less headroomMore megapixels + RAW headroom
Learning photography (aperture, ISO)LimitedFull control, tangible learning effect

When which tool — without dogma

Lightroom Presets9 film looks inspired by Portra, Kodak & Fuji —View pack

06
Upgrade

When a camera really pays off

Don't buy a body out of frustration over one blurry shot. Buy a camera when you repeatedly hit the same limits — and want to solve them through technique instead of filters.

Often not worth it (yet)
You're happy in daylight, mainly post on your phone, don't want to carry extra gear — then invest time in light and composition, not equipment.
Often worth it
You shoot regularly at dusk, want sharper zooms, larger prints or RAW editing — and notice you're interested in photography, not just memories.
Budget entry
Under €1,000: Best camera under €1,000 — same recommendations with more buying criteria.
07
Recommendations

Three beginner cameras when you want more

If you want to step up from your phone without spending €2,000 right away: these three cover the most common paths. Details and specs: Camera for beginners.

Phone upgrade 2026

Learn · Content · Compact

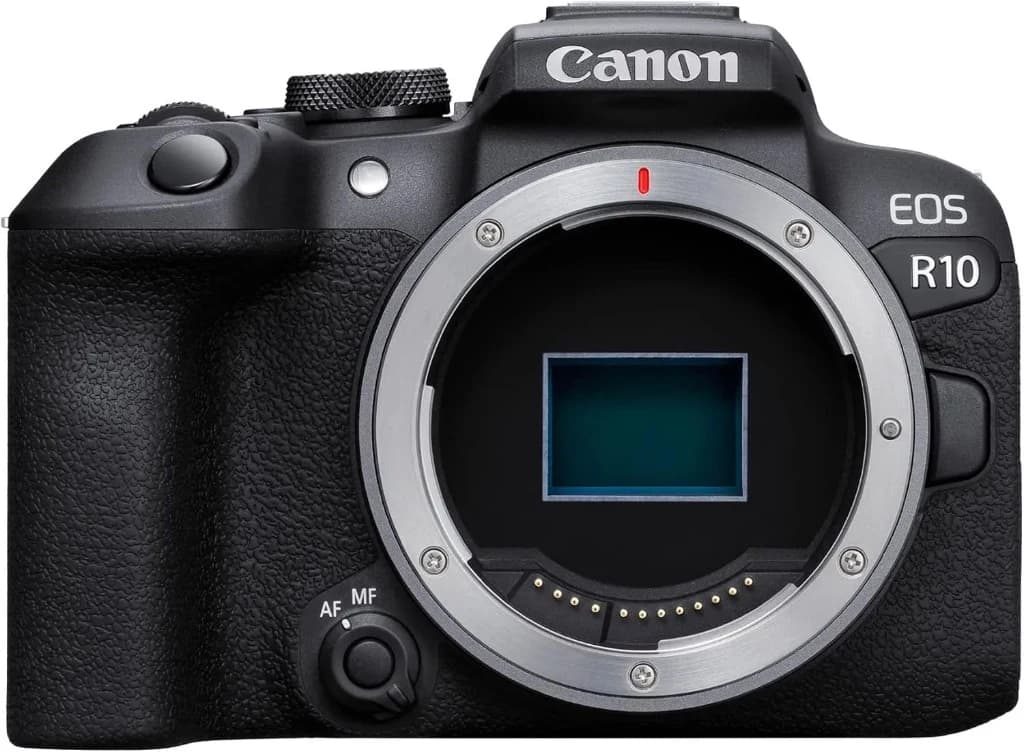
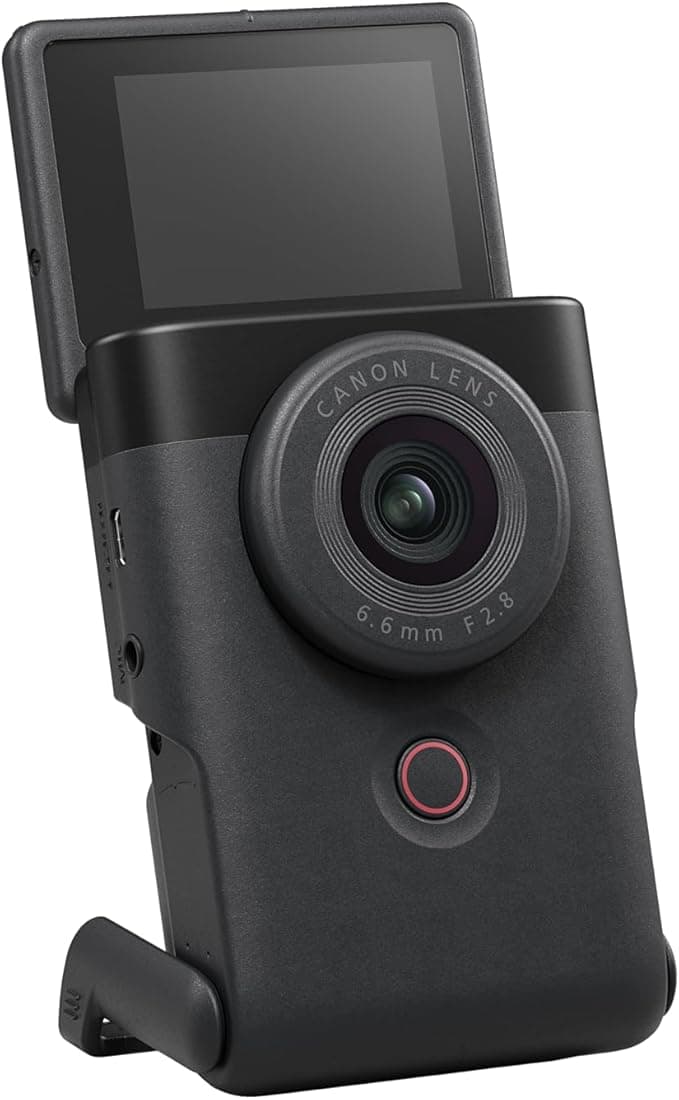
**Canon EOS R10** for learning photography. **Sony ZV-E10 II** when Reels and YouTube matter. **Canon PowerShot V10** when you want maximum simplicity and pocket size.

Vergleich
Canon
Canon EOS R10
Sony
Sony ZV-E10 II
Canon
Canon PowerShot V10
Bild
Canon EOS R10
Sony ZV-E10 II
Canon PowerShot V10
EmpfehlungTop PickContent PickCompact Pick
Sensor24.2 MP · APS-C CMOS26 MP · APS-C BSI CMOS1-inch · approx. 20 MP
ISO-Bereich100 – 32,000 (exp. 51,200)100 – 32,000 (expandable)100 – 12,800
AutofokusDual Pixel CMOS AF II · subject detectionAI real-time AF · eye & subject detectionFace & eye AF
DetailViewfinder + flip screen · 23 fps · 4K30 · 429 g4K/60p 10-bit · flip screen · no viewfinder · 377 g4K/30p · built-in stand · ~211 g
Stärken
  • +Real viewfinder — usable even in bright sun
  • +Very good autofocus for the price class
  • +Huge lens choice (RF + EF via adapter)
  • +Best-in-class autofocus, also in video
  • +Fully articulating screen for selfie & vlog
  • +Huge lens choice (Sony E + Sigma, Tamron)
  • +Fits in any pocket — always with you
  • +Ready instantly, no settings required
  • +Clearly better than a phone for video & audio
Schwächen
  • No in-body stabilization (IBIS)
  • Kit lens is solid but not a low-light hero
  • No built-in viewfinder — screen only
  • Sony menu feels a bit nested at first
  • Fixed lens — no zoom flexibility
  • Weaker than APS-C in low light
Geeignet fürHobby photographers, parents and anyone who wants to grow with the system.Instagram, Reels and anyone who also wants to film.Holidays, family moments, maximally simple and always with you.
Wo kaufen
08
Decision

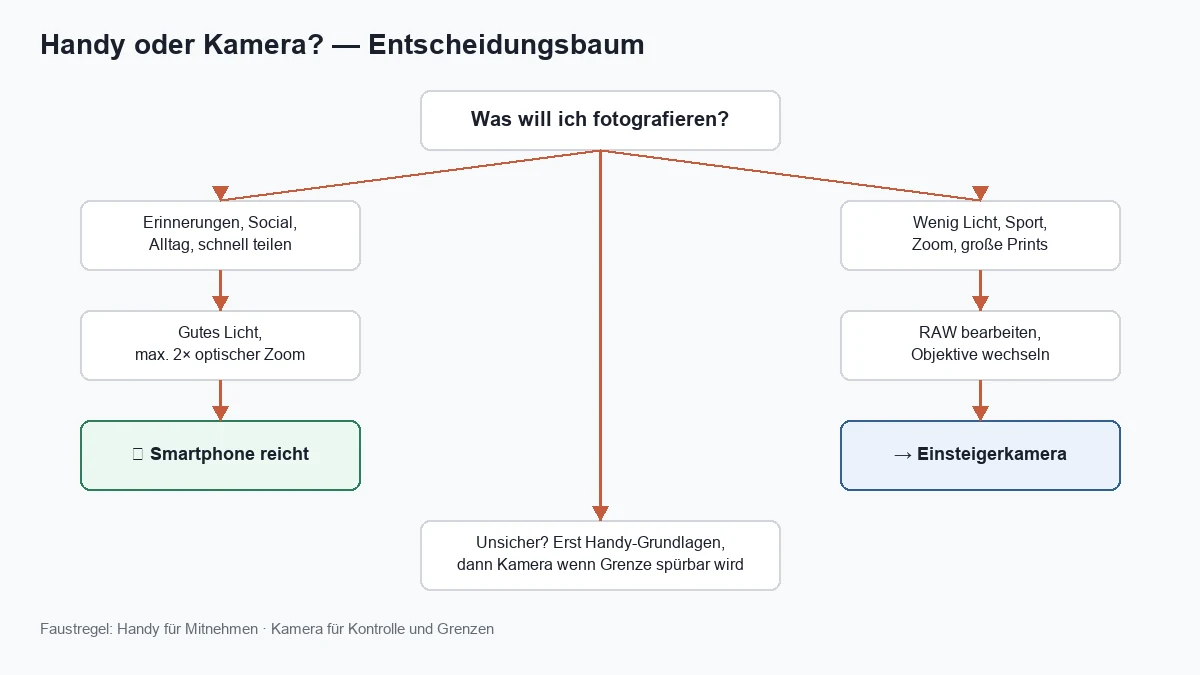
Phone or camera?

Decision tree phone or beginner camera
From use case to the right camera — phone first, upgrade when needed

Most readers of this article don't need a new camera — they need better light and two or three habits in the camera app. If after applying them you're still curious about aperture, ISO and lenses: that's the signal for step two.

09
Mistakes

The most common phone photo mistakes

Digital zoom
From 2× (iPhone Pro) or 5× it gets soft quickly — walk closer or crop later.
Dirty lens
Milky images despite a good phone — a cloth fixes it.
Flash in a hall
Hard shadows, flat skin — better high ISO and Night Mode.
Midday sun frontal
Person squints — find side light or shade.
Portrait mode too close
Artificial edges in hair — increase distance to background.
Portrait only for landscape
Wide scenes often need landscape orientation — worth rotating once.
10
Conclusion

Your next step

Smartphone photography doesn't mean "less good" — it means working differently: decide faster, find light, override auto deliberately. Enable the grid today, clean the lens, take five photos by the window — the difference is visible immediately.

Want to go deeper into iPhone menus: iPhone Camera Settings. Want gear: Camera for beginners or Smartphone tripods for night and timelapse.

11
FAQ

Frequently asked questions

Is the iPhone enough for good photos?
Yes — for most everyday situations, social media and prints up to about A4. Light, composition and a clean lens matter more than the model year.
Which iPhone camera setting matters most?
Enable grid and lock focus/exposure by tapping. Everything else (ProRAW, Styles, manual values): iPhone Camera Settings.
iPhone or beginner camera?
Phone: always with you, fast, good in daylight. Camera: low light, zoom, large prints and deliberate learning. Many use both in parallel.
Is ProRAW worth it for beginners?
Only if you actively develop images in Lightroom or similar. For starting out HEIF/JPEG is enough — less storage, less effort. Details in the iPhone settings guide.
Which phone is best for photos?
On iOS: iPhone 16 Pro (or a two-year-old Pro model). On Android: Google Pixel 9 Pro for automation and Night Sight. More important than the model: light, composition and the tips in sections 01–03.
Which beginner camera after the iPhone?
Canon EOS R10 for learning, Sony ZV-E10 II for photo+video, Canon PowerShot V10 for maximum compact — see section 07 and Camera for beginners.
Do I need a tripod for my phone?
For Night Mode, timelapse and sharp indoor shots: yes, a light model is enough. Buying guide: Best smartphone tripods.
35mm & 120mm film presets — Lightroom presets by Martin Kleinheinz

From my workflow

35mm & 120mm film presets

Portra, Kodak Gold, Velvia, HP5 & more — ready-made XMP presets for Lightroom Classic and mobile.

35mm & 120mm Film Lightroom Presets · €29

Go to preset pack
Affiliate links marked with * — phone and camera recommendations based on practice, not commission. You don't need to buy a new iPhone. Amazon product links use partner ID martinkleinhe-20.
Newsletter

Stay in the loop.

Camera and photography news, honest gear tests and new articles — in your inbox. Infrequent but relevant. No spam, unsubscribe anytime.

Keep reading

From the journal.

Fotograf, Martin Fernando Mera Kleinheinz · Franz-Bork-Straße 21, 30163 Hannover · 0179 4085297