What actually looks professional — with an Impact Hierarchy (Light → Composition → Moment → Technique → Gear), a pre-shoot checklist and diagnostics for why photos look amateurish. A hub with deep-dives, not another technique lexicon.
Author
Martin Kleinheinz
Photographer · Content Creator · Hannover
Updated
July 19, 2026
“Making professional photos” sounds like it needs an expensive camera, razor-sharp focus and the right lens. In workshops and business shoots, I see something different: photos often look amateurish even though the focus is dead-on — because the light, the composition or the moment doesn't carry the shot.
This article is a hub, not a lexicon. You get a clear hierarchy of what creates impact, a checklist to run before you press the shutter, and diagnostics for when something “doesn't look professional.” The technical details live in deep-dives — here, you decide where to focus your energy.
For the broad basics path, there's Take Better Photos. This article is about priorities: what carries the look — and what's just polish.
00
Straight Talk
What “professional” really means
In everyday language, “professional” usually means: looks like someone knew what they were doing. Not: “got paid for it.” Clients and laypeople recognize the look subconsciously — they rarely can say why. That's exactly what this section is about: naming the levers that create that impression.
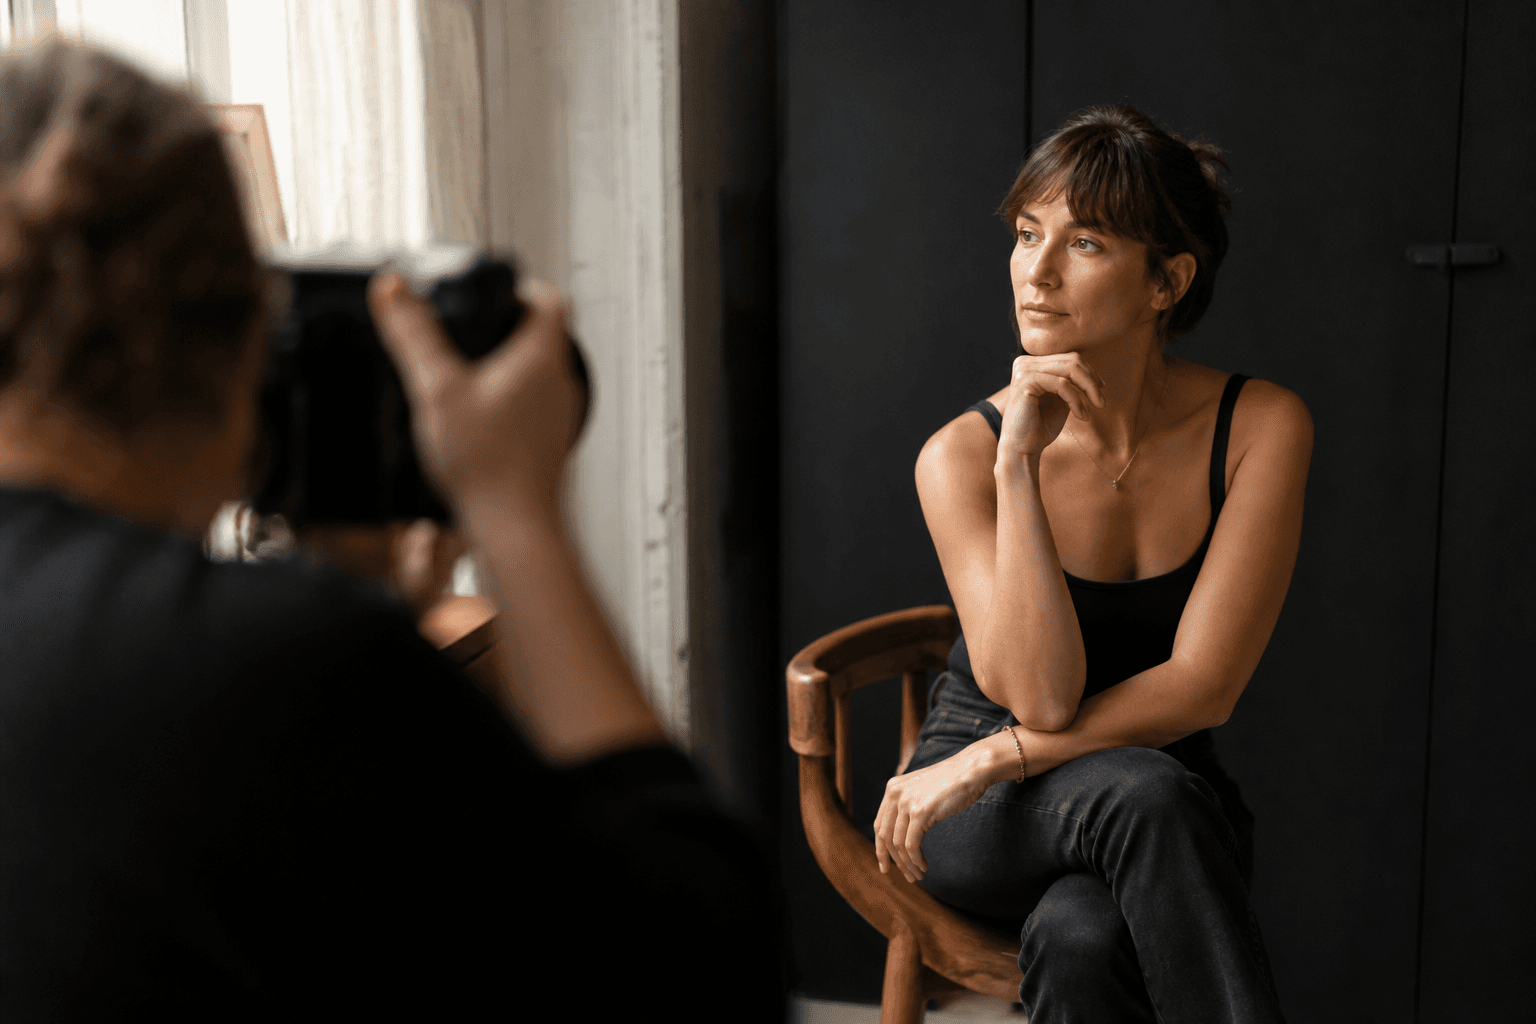
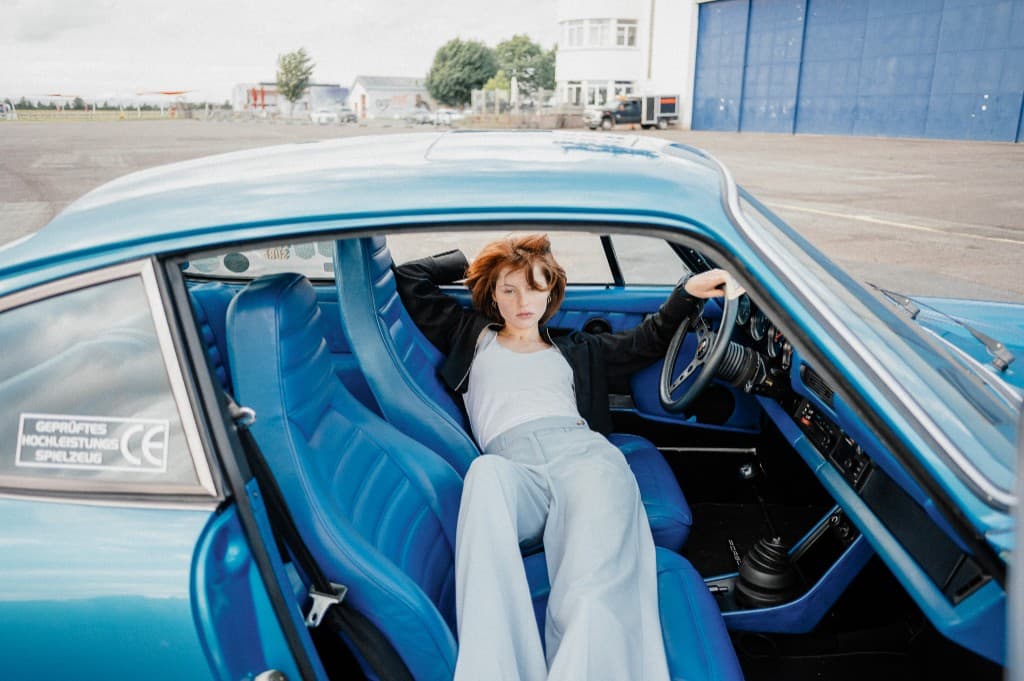
A photo looks professional when intent is visible. Light has direction. The framing shows a decision. The moment carries emotion or presence. Technique and gear support that — they don't replace it.
Professional ≠ paid
Money is a consequence. Impact comes first — otherwise nobody buys a second time.
Professional ≠ expensive camera
A good smartphone photo with clear light often beats a full-frame image shot in midday sun with chaos in the background.
Professional = legible intent
You see what matters. Nothing competes for attention. The viewer feels guided — not overwhelmed.
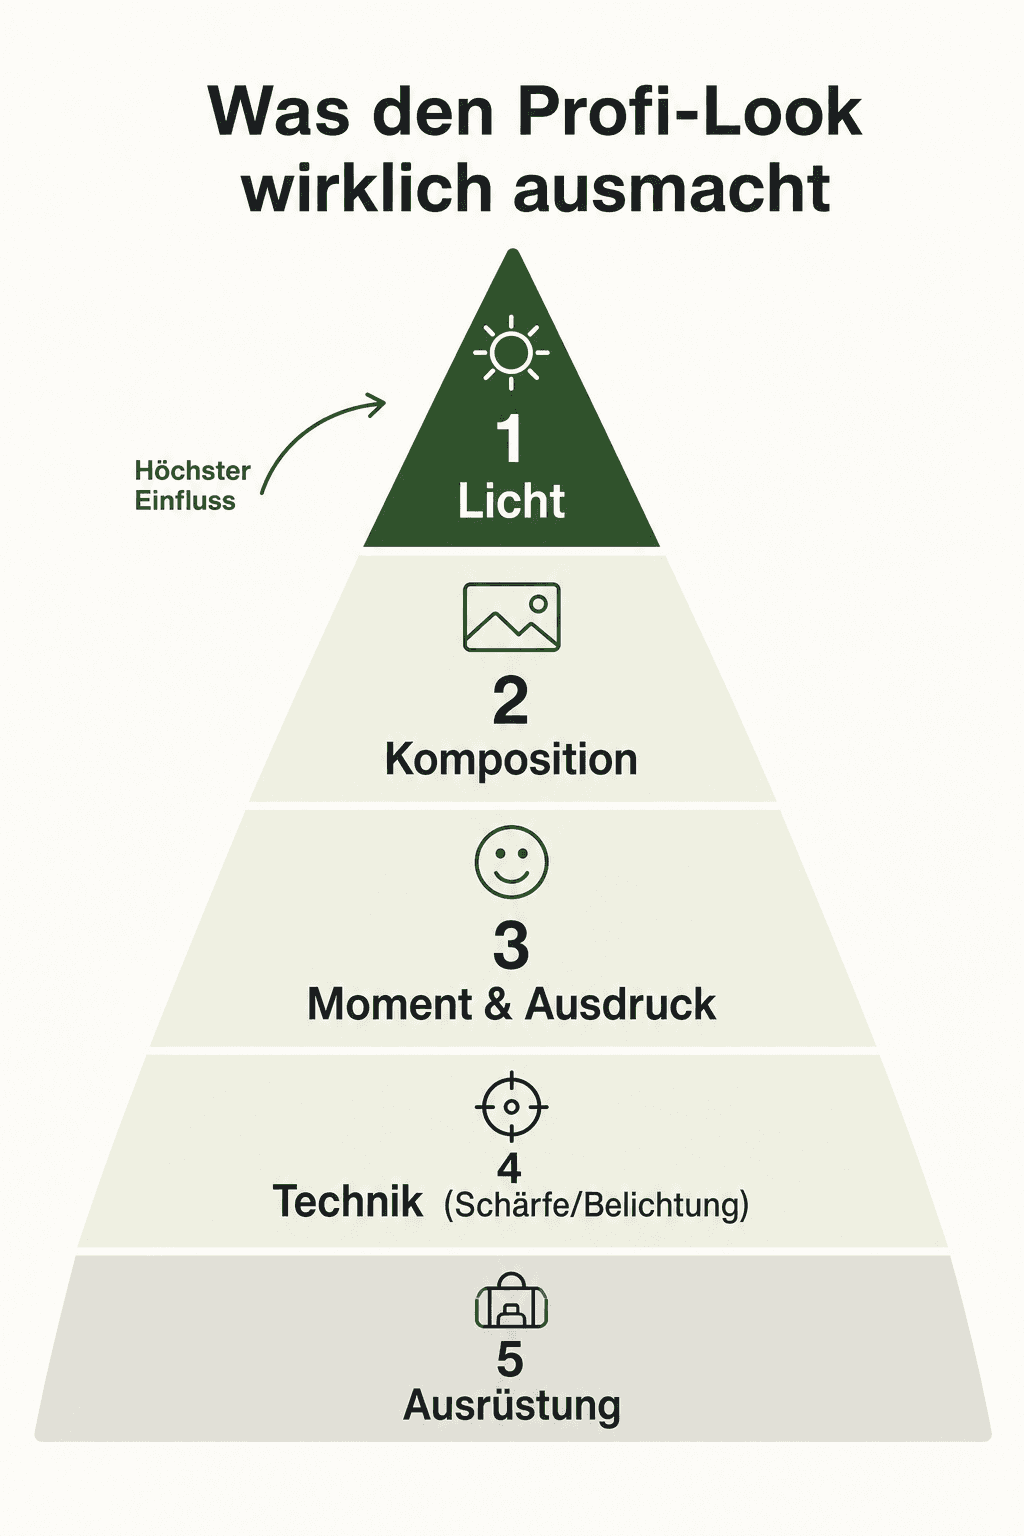
When time is short — an event, a workshop, a 15-minute business slot — you need an order of operations. Not everything at once. The Impact Pyramid says: top first. Bottom only once the top is right.
The Impact Pyramid — light first, gear last. You rarely fix at the bottom what's missing at the top.
Level
Question before you shoot
If it's wrong
1. Light
Where's it coming from? Hard or soft? Hitting the face / subject?
Flat, harsh shadows, “phone-at-noon look”
2. Composition
What matters? What gets cropped out?
Chaos, competing elements, no focal point
3. Moment
Does the posture, gaze, timing feel right?
Stiff, empty, “pose without life”
4. Technique
Exposure, focus, motion under control?
Blurry, wrong exposure, missed focus
5. Gear
Is the tool helping right now — or distracting?
Over-specced, wrong priorities
Five levels — work from top to bottom, not the other way around
“A sharp file with bad light stays a sharp file with bad light. Soft window light with calm composition often looks “professional” — even with an older camera.”
02
Deep-Dives
Level by level — short version, then keep reading
Here's just the core of each level. If you want to go deeper: the links. This hub isn't meant to keep you stuck for 40 minutes on the exposure triangle — it's meant to tell you where to go next.
1. Light — the biggest lever
Light decides mood, dimensionality and skin rendering. Soft side light from a window often beats expensive on-camera flash chaos. Always ask: direction, quality, contrast. Not: “Do I have enough lux?”
What looks professional is decided: clean up the background, isolate the subject, use lines and negative space. Fewer subjects in the frame — a clearer statement. Basics and exercises: Take Better Photos.
3. Moment — posture, gaze, timing
Technique can be flawless and the photo can still look stiff. With people: weight, angle, chin, hands given a task. Direction over a pose catalog: Portrait Posing. At events: a second earlier or later — that's often the difference between “document” and “photograph.”
4. Technique — only once 1–3 hold up
Focus on the right point, shutter speed fast enough, exposure chosen deliberately. That's mandatory — but rarely the reason a photo looks “unprofessional” if light and composition were already off. Learning path: Learn Photography Properly.
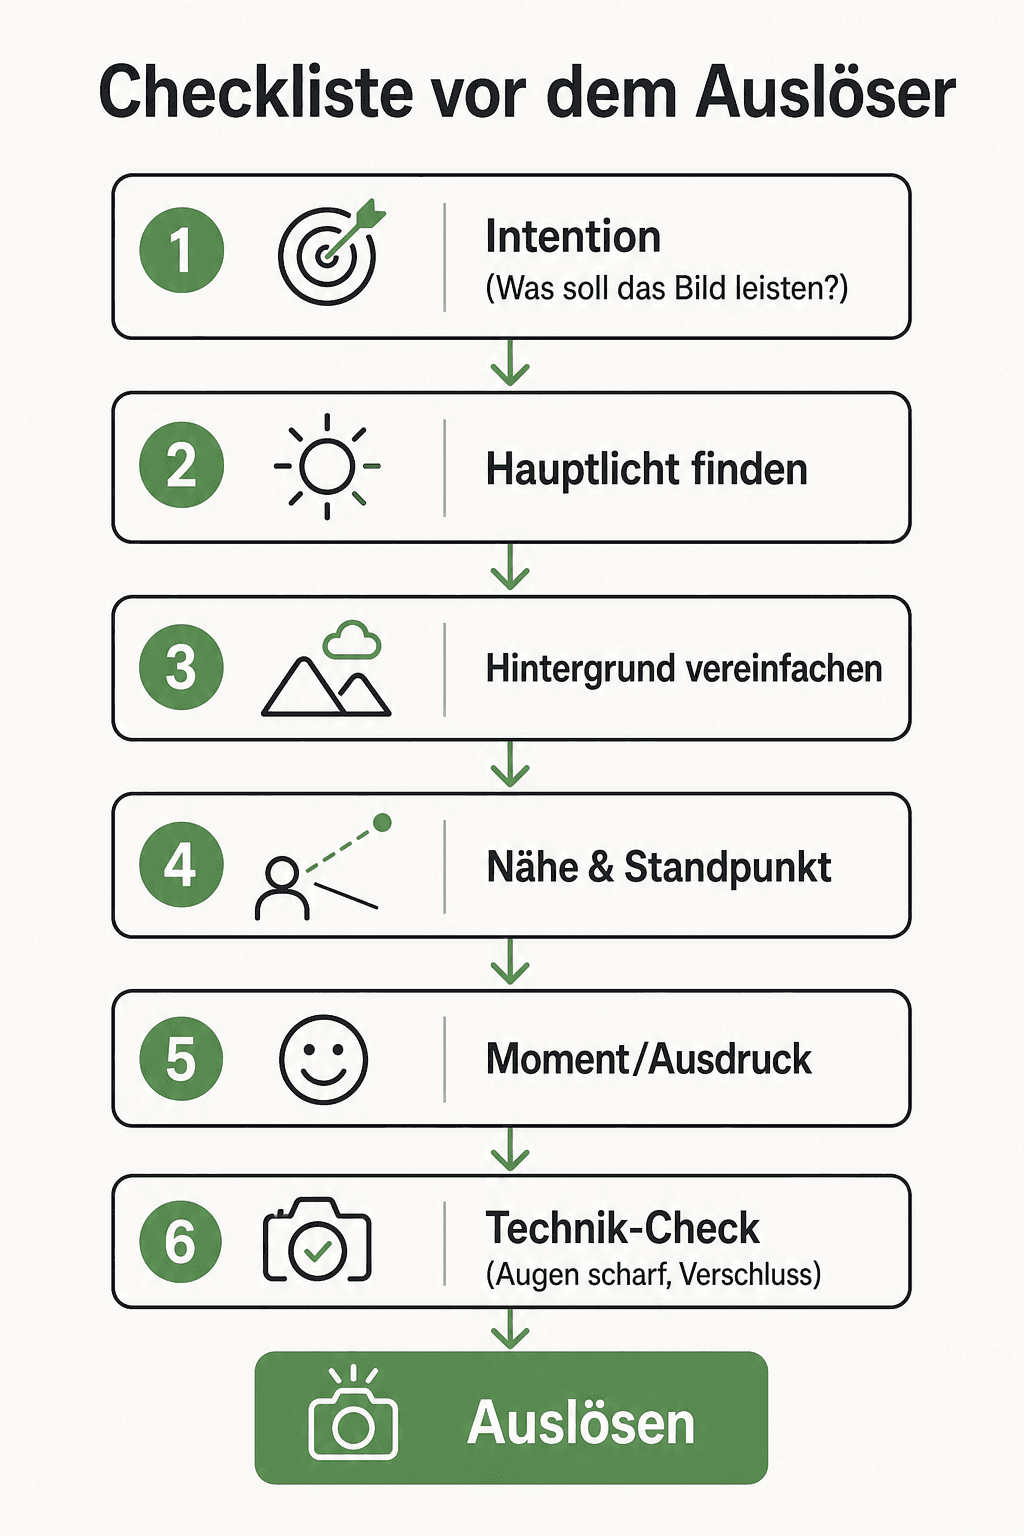
Two minutes before the shoot — or before the next frame. Not a ritual to tick off, but a mental loop. The graphic summarizes the flow:
Pre-shoot checklist — five stops, then shoot; on “no,” go back a level
1. Light
Find or set your main light. Is the face / subject actually lit? Harsh sun → find shade, use a diffuser, or wait.
2. Background
Remove distractions: signs, clutter, bright surfaces. For business shots, often: a wall, window light, a calm surface.
3. Vantage point
One step left/right/higher/lower. Often better than zooming. Distance from the background for separation.
4. Moment / direction
For portraits: weight, angle, gaze. For events: anticipation — when does the real moment happen?
5. Technical check
ISO/aperture/shutter roughly right? Focus point set? Then shoot — not ten more menus.
For headshots and website photos: the same list, just tighter — light and background dominate. Details: Profile Picture Guide.
Lightroom Presets9 film looks inspired by Portra, Kodak & Fuji —View pack →
04
Diagnosis
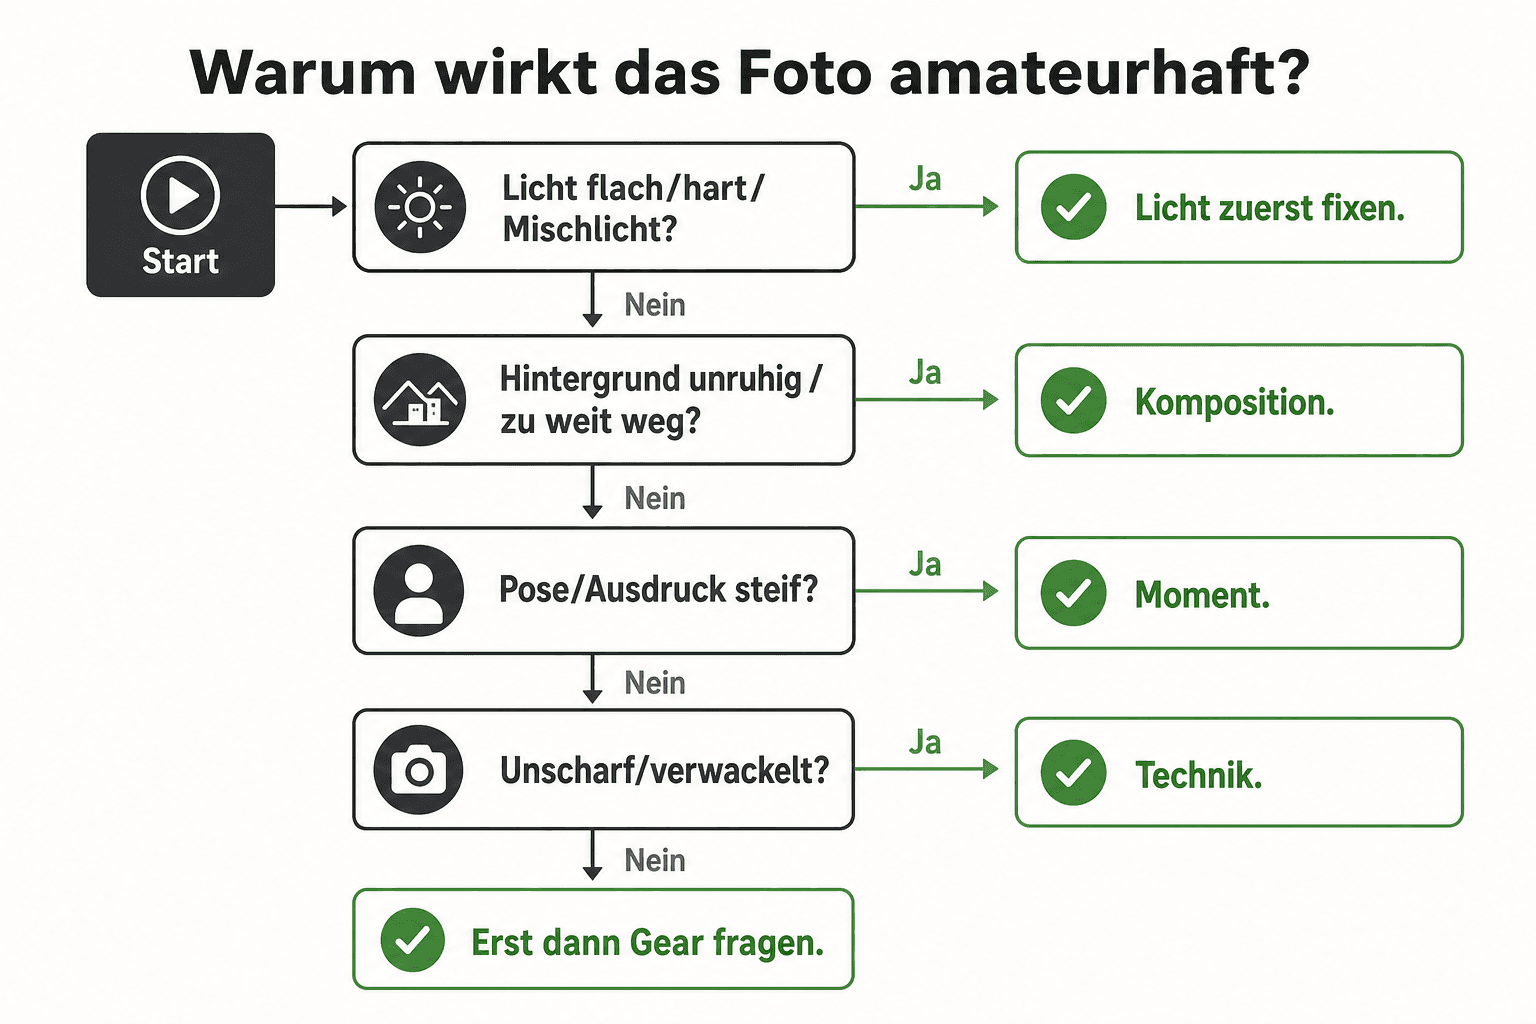
Why does it look amateurish? A decision tree
You have a photo that “just doesn't work.” Instead of changing everything at once: find one cause. The tree walks you from symptom to lever — and often back up the pyramid.
Quick diagnostics — one symptom, one lever, not five at once
05
Straight Talk
Myths that get in the way of professional
Myth: “Sharp = professional”
Sharpness is a baseline. Without light and intent, sharp often just looks clinical. Sharpness belongs at the Technique level — not at the top.
Myth: “Full frame makes the look”
Sensor size helps with noise and subject separation. The look still comes from light and composition. Plenty of strong business photos come from APS-C or a good smartphone.
Myth: “Lightroom fixes everything”
Editing makes good files better. Chaotic light and stiff posture stay chaotic and stiff — just with film grain on top. Getting started: What Is Lightroom.
A studio gives control. Window light and location shoots can look just as professional — often more approachable. Studio setups: Studio Lighting.
06
Optional
Optional: 5-in-1 Reflector — a verdict
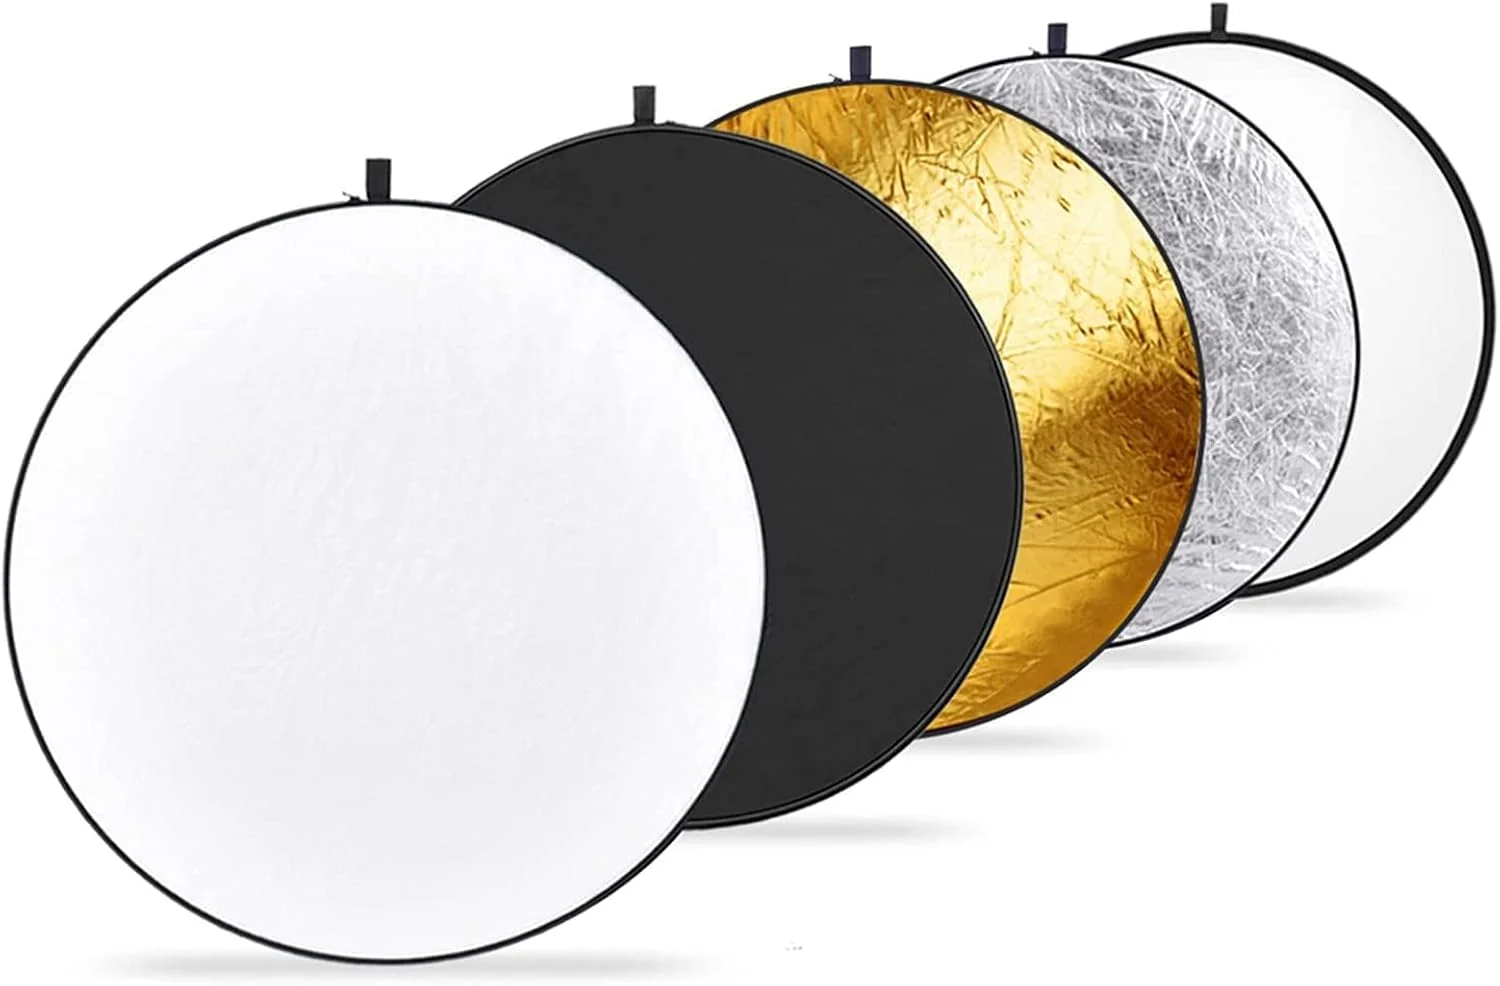
Gear comes last. One product still often pays off earlier than a new camera: a foldable 5-in-1 reflector. Not because it “makes you professional” — but because it cheaply improves Level 1 (light), if your light direction and idea are already clear.
Verdict: For window light and outdoor portraits, a Neewer 110 cm (or comparable) is enough. White = fill softly, silver = more punch, gold = warmer (use sparingly), black = block light, diffuser = soften harsh sun. An assistant or a stand holds it — you stay focused on composition and moment.
Optional
Light Helper — not the starting point
Just one product. Master the pyramid and checklist first — then optionally add fill light.
Vergleich
Neewer
Neewer 5-in-1 Reflector 110 cm
Bild
Empfehlung
Optional
Sensor
5-in-1 folding reflector
ISO-Bereich
approx. 110 cm dia.
Autofokus
Diffuser · Silver · Gold · White · Black
Detail
Portrait · window light · outdoor
Stärken
+Five lighting functions in one foldable piece
+White for gentle fill, silver for more contrast
+Diffuser softens harsh sun
+Compact — good for location and business shoots
Schwächen
−Needs a second person or a stand in windy conditions
−Gold turns warm quickly — use it sparingly
−Doesn't replace a well-thought-out lighting setup
Geeignet für
When your light and composition are already in place and you just want to fill shadows selectively.
Optional — fill light once direction is already right
A foldable 5-in-1 reflector at roughly 110 cm: a translucent diffuser plus a sleeve in silver, gold, white and black. Worth it once the direction and quality of your light are already clear — then it fills shadows under the eyes and chin, or softens harsh sun. Typically in the low double-digit euro range. An assistant, clamp or stand holds it in place while you stay focused on composition and moment.
Was überzeugt
+Five lighting functions in one foldable piece
+White for gentle fill, silver for more contrast
+Diffuser softens harsh sun
+Compact — good for location and business shoots
Was Du wissen solltest
−Needs a second person or a stand in windy conditions
−Gold turns warm quickly — use it sparingly
−Doesn't replace a well-thought-out lighting setup
Editor's Statement
“A light helper — doesn't replace the impact hierarchy”
Professional photos don't come from specs. They happen when light carries the shot, composition shows intent and the moment feels right — technique and gear support that. The Impact Pyramid keeps you honest: top first.
Run the checklist before your next shoot. If a photo doesn't work: diagnose, pick one lever, practice. Not five tutorials at once.
Recommended learning path
◆Today: Apply the checklist + impact pyramid — one subject, ten frames focused only on light & vantage point
Legible intent: light with direction, clear composition, a moment that feels right. Technique and camera support that — they don't replace it. Sharpness alone isn't enough.
Do I need an expensive camera for professional photos?+
No, not to start. Good light and calm composition often carry more weight than a sensor upgrade. New gear pays off once light and composition are already solid and you're hitting real limits.
What matters more: light or sharpness?+
Light. Sharpness is mandatory at the Technique level — but flat or chaotic light looks amateurish even with perfect focus. Impact Pyramid: light first.
How do I stand out from amateur photos?+
Less clutter in the frame, deliberate light quality, a real moment instead of a stiff pose. The pre-shoot checklist and the diagnostic tree help you find the right lever.
Is editing enough for a professional look?+
No, not as a rescue. Lightroom and similar tools make good files better. Bad light and stiff posture stay visible — often even more so after a color grade.
What should I learn first?+
Read and set light, then composition, then moment/direction. Deepen technique after that. The learning path in the verdict section leads you to the deep-dives.
How do I make business photos more professional?+
Soft side light, a calm background, relaxed shoulders and a clear gaze. See Profile Picture Guide — same impact logic, tighter brief.
Why do my sharp photos still look cheap?+
Usually light (frontal/flat) or composition (too much in frame). Diagnostics: symptom “flat/chaotic” → Level 1 or 2, not a new camera.
Does a reflector help for professional portraits?+
Optionally yes — once light direction is already right and you want to fill in shadows. It doesn't replace the impact hierarchy. A 5-in-1 reflector covers most window and outdoor setups.
Where do I find the detailed technique guides?+
Take Better Photos and Learn Photography Properly for the basics; Portrait Photography Tips, Portrait Posing and Studio Lighting for people; What Is Lightroom for post-processing.
From my workflow
35mm & 120mm film presets
Portra, Kodak Gold, Velvia, HP5 & more — ready-made XMP presets for Lightroom Classic and mobile.
Affiliate links marked with * — Amazon product links use partner ID martinkleinhe-20. I earn a small commission if you buy through these links; there's no extra cost to you. The recommendations are based on hands-on practice — no brand sponsored this article.
◆ Newsletter
Stay in the loop.
Camera and photography news, honest gear tests and new articles — in your inbox. Infrequent but relevant. No spam, unsubscribe anytime.